
This tutorial is the second in our series about creating & editing pages using the WordPress Blocks editor. It follows on from Part 3: Working with Attachments.
By now, we have looked at all of the most common content types on basic pages. This tutorial will look at the final steps in creating a page; setting up page attributes and other properties, publishing, and taking a look at our completed work.
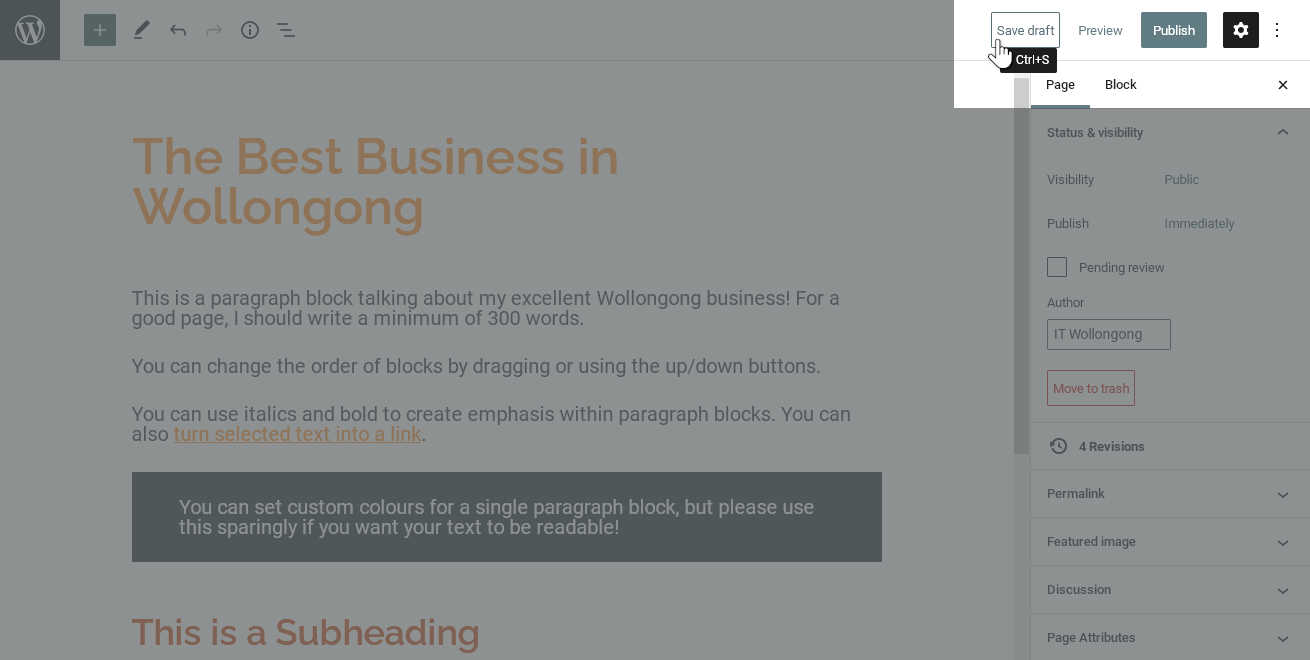
To begin, we’re going to click the “Save Draft” link, located at the right side of the top toolbar. WordPress has been makes “autosaves” as we work, but we want to make sure it records our most recent changes before we get started.
Page settings
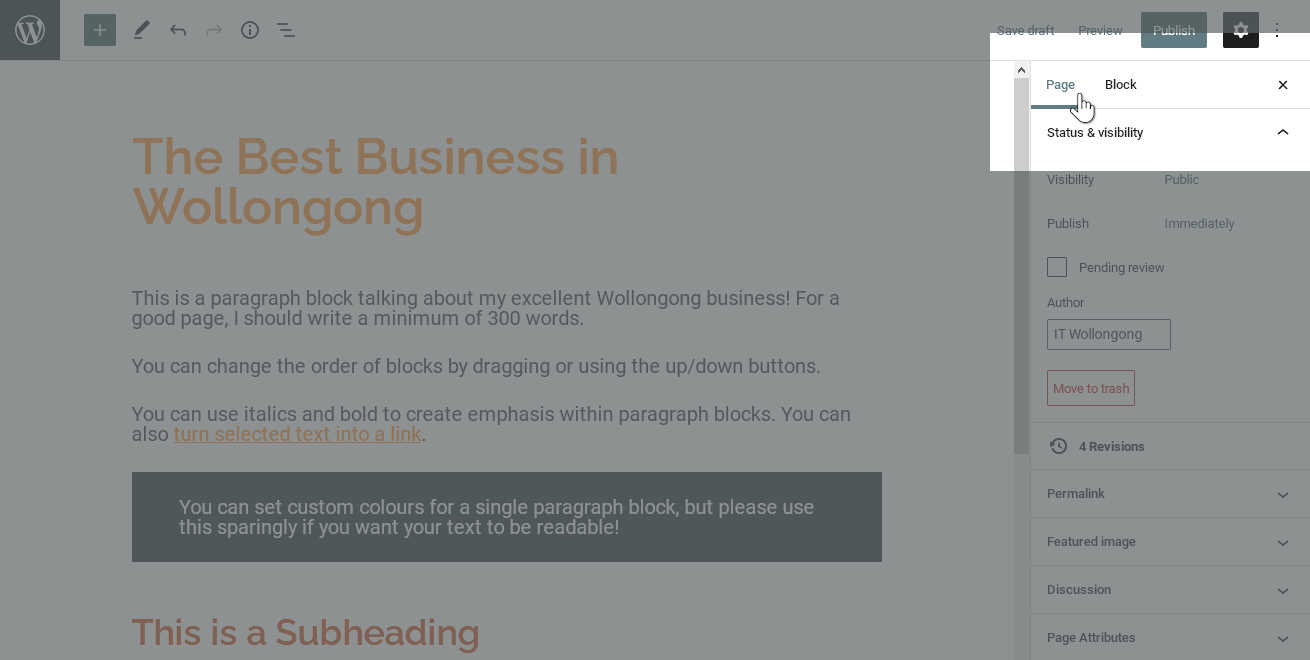
So far in these tutorials, we have been using the right-hand sidebar to change the properties of our various content blocks, the the “Block” tab. Now we want to change properties for the entire document instead, so we will click the “Page” tab to switch over.
Permalink and URL Slug
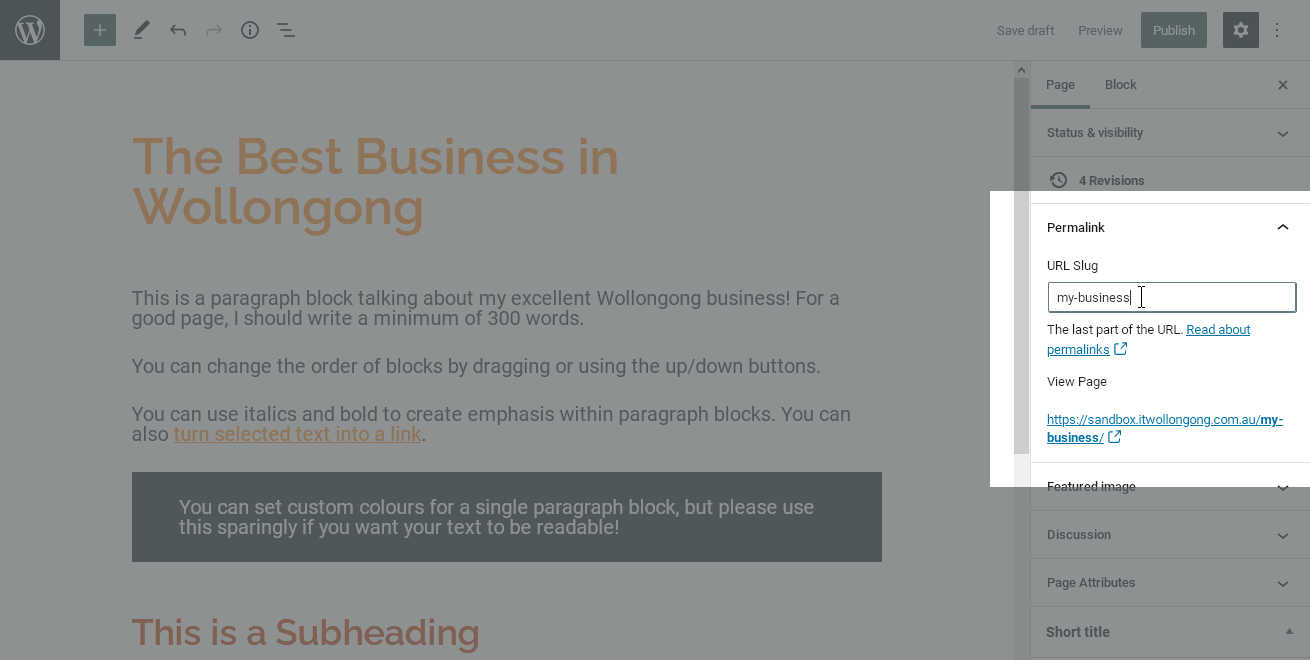
First we’re going to look at the Permalink section. Here we see something called the slug, which is the last part of the page address (URL) that appears after our domain name. For example, if we visit this page by going to https://www.someplace.com/my-new-page, the slug is “my-new-page”.
When we first save our draft, WordPress fills in the slug automatically. By default, it’s the same as our title field, except for some special characters (like spaces) that are not allowed in URLs. WordPress will replace or remove these characters.
If we like the automatically-generated slug, we don’t have to make any changes. However, what if we want to choose a custom slug? Our title could easily be a bit too long to work in a URL. In this case, we can type some other text in the “URL slug” field.
As with the automatic slug, WordPress has replaced or removed any illegal characters, to make sure our permalink is valid.
Page Attributes
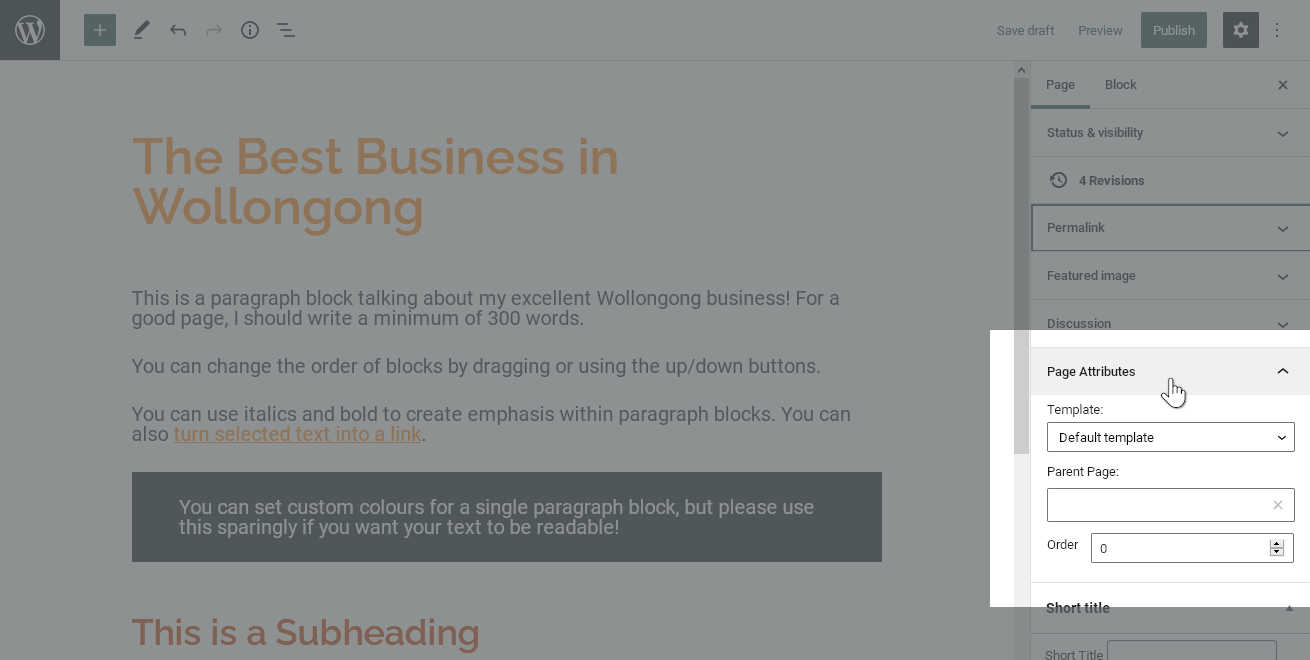
Next, we’re going to look at the Page Attributes section. Here we have a couple of useful properties that help us control the layout and organisation of our pages. (If the section is collapsed, we can just click on “Page Attributes” to expand it.)
Page Templates
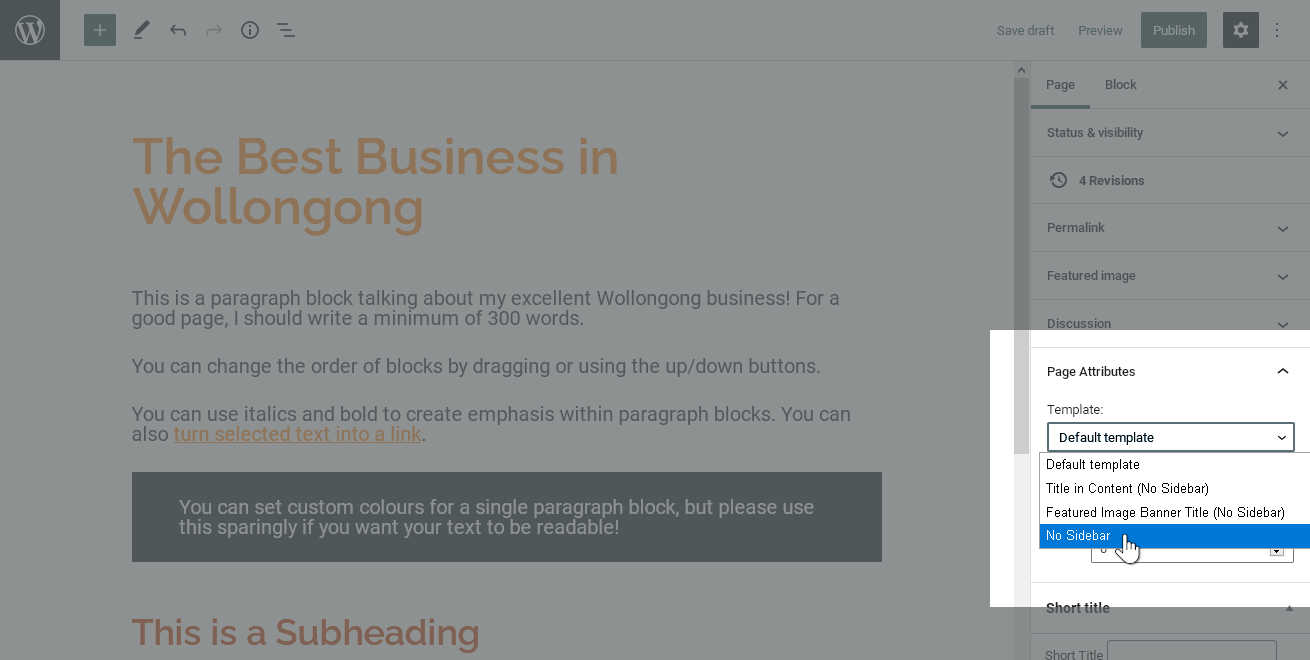
First, we can select a Template for our page. A template is a “shell” for our content, provided by the theme, that determines its layout relative to the other elements of the site (menus, sidebars and so forth). For example, many themes provide a default template for a layout with a sidebar, and a specialised template for a full-width layout.
Note: The templates available, and the layouts they provide, depend entirely on your theme. If you don’t see the “Template” drop-down box at all, your theme probably doesn’t support templates.
If we want to choose a different template from the default, we can simply click on the “Template” drop-down box and select the template we want to use.
Page Parents
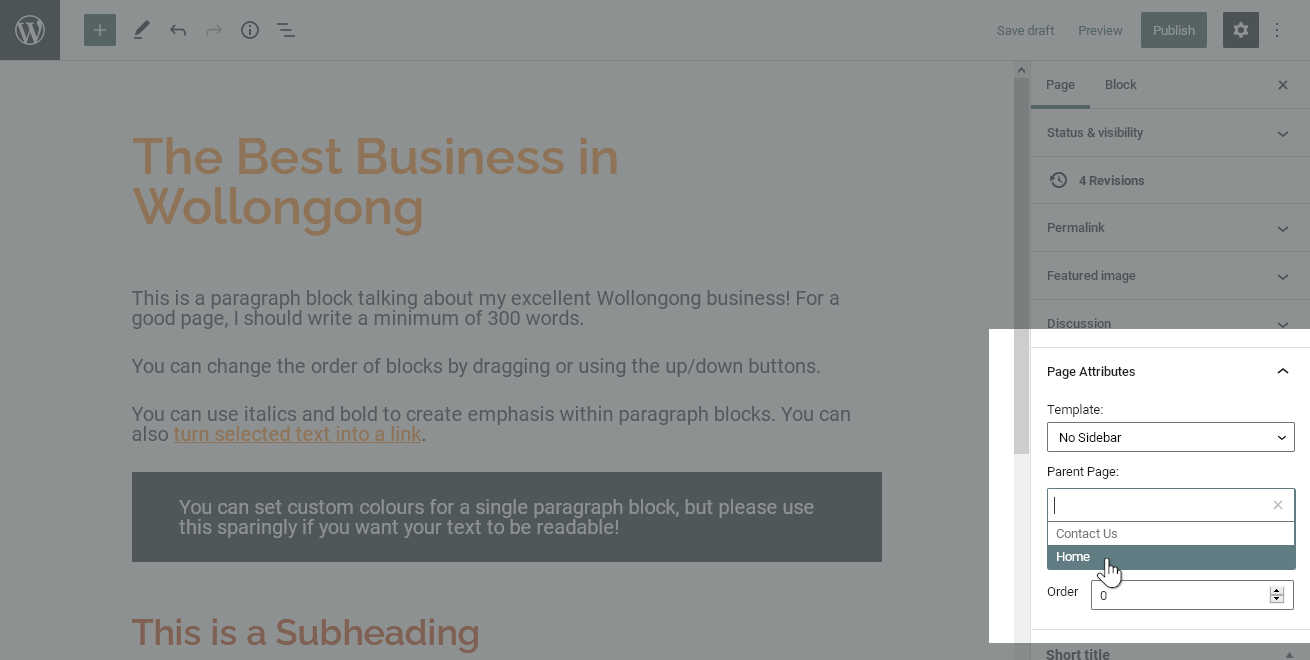
Next, we will decide whether this page should have a Parent.
Page parents provide a way to organise our site’s content into a logical hierarchy. For example, if we have written a page about “Dogs” and then later add a page about “Dog training”, we might consider that the second page is really a sub-topic of the first. In that case, we could set the “Dog Training” page to have “Dogs” as its parent.
If we want to set a parent page, we simply click on the “Parent Page” drop-down menu and select the parent we want from the list.
Sometimes it’s hard to know if a page should have a parent or not. Often, it can help to organise our pages like chapters of a book. If we were to make a table of contents, how would we arrange things to help readers find what they were looking for?
We can also consider the number of pages. On a site with only a few pages, we may not need to worry about having a hierarchy. However, the more content we have, the more our visitors will appreciate the convenience of a logical content structure.
Short Title
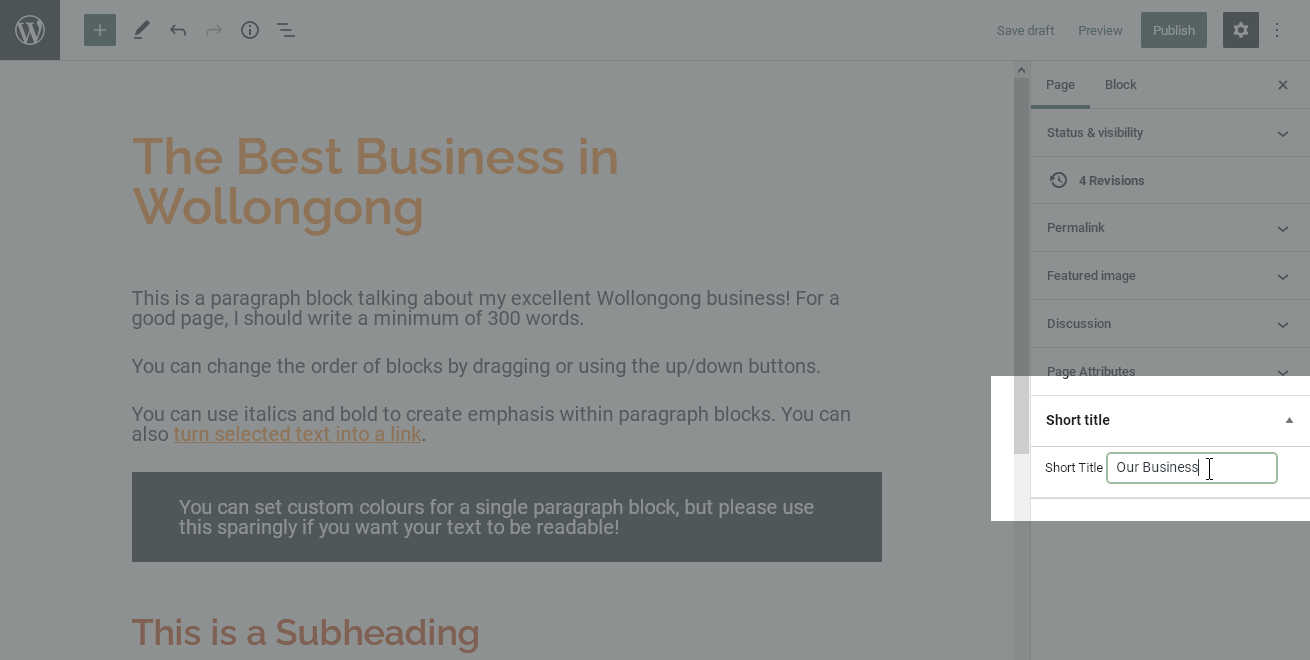
Finally, let’s look at a special field included in IT Wollongong themes, the Short Title. IT Wollongong have added this custom field so clients can give a short version of the title intended for navigation links, and other places where showing the full title might be impractical.
We don’t need to fill out this field, because the theme will simply display the full title if no short title is available. However, if we want our menus and breadcrumbs to look nice, we should definitely enter short version of our page title in this field.
Publishing the page
Now that we’ve set up our various attributes and properties, it’s time to publish our new page! Let’s click on the “Publish” button in the top toolbar.

Before our new page goes live, WordPress will offer a final confirmation and a couple of pre-publishing checks. This confirmation step can be quite handy on a live site, but we can also disable it in the future if we find it annoying.
Pre-Publishing settings
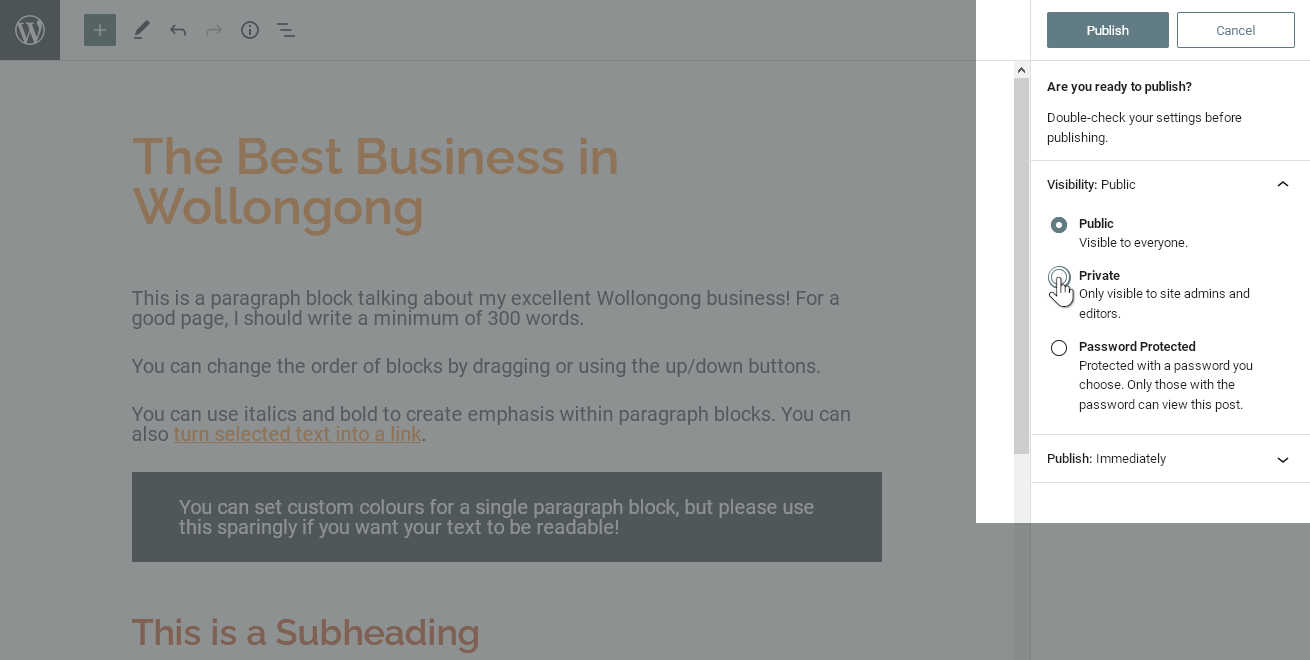
WordPress presents us with a couple of options before we publish. Under the “Publish” setting, we can choose a specific date and time for our page to go live. This is great if we want to prepare content ahead of time for a specific event or promotion. However, normally we want to leave this at the default value of “Immediately”.
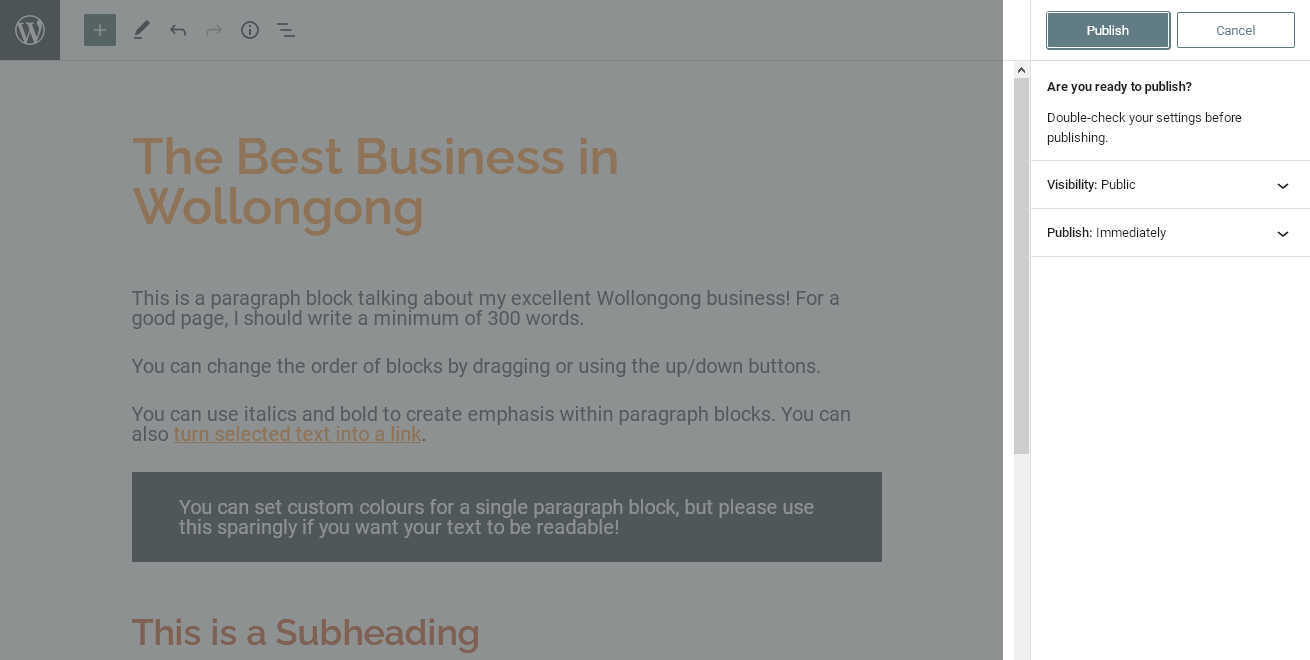
Secondly, we can restrict who will see our published page. To see our visibility options, we simply click “Visibility” to expand the section.

Normally we want our pages available to the public—that’s who we’re writing content for, after all! For that, we would leave the default “Public” setting in place.
However, it’s very useful to have a secret page where we can experiment with different ideas, especially while we’re learning. (This is commonly called a “sandbox”.) If we choose “Private“, we can publish a page that’s only visible to logged-in admin/editor users.
We could also require a password to access the page. This could be useful if we need a page to be available to certain people who don’t have a login for our WordPress, but we don’t want it to be available to the general public.
Note that if we select “Private“, WordPress will prompt us to publish the page immediately. For other settings, it will wait for us to press “Publish” again.
%22%20transform%3D%22translate(2.6%202.6)%20scale(5.11719)%22%20fill-opacity%3D%22.5%22%3E%3Cellipse%20fill%3D%22%23fff%22%20cx%3D%22227%22%20cy%3D%2238%22%20rx%3D%2253%22%20ry%3D%2271%22%2F%3E%3Cellipse%20fill%3D%22%23666%22%20rx%3D%221%22%20ry%3D%221%22%20transform%3D%22rotate(-115.1%2067.2%2018.9)%20scale(176.03349%2078.03909)%22%2F%3E%3Cellipse%20fill%3D%22%23fff%22%20rx%3D%221%22%20ry%3D%221%22%20transform%3D%22rotate(16.9%2012.3%20826.3)%20scale(38.8948%2058.66061)%22%2F%3E%3Cpath%20fill%3D%22%23fff%22%20d%3D%22M239.1-11.7l27.7%204.4-12%2075-27.6-4.4z%22%2F%3E%3C%2Fg%3E%3C%2Fsvg%3E)
Changing Visibility to Private %22%20transform%3D%22translate(2.6%202.6)%20scale(5.11719)%22%20fill-opacity%3D%22.5%22%3E%3Cellipse%20fill%3D%22%23bababa%22%20cx%3D%22128%22%20cy%3D%2247%22%20rx%3D%2245%22%20ry%3D%2235%22%2F%3E%3Cellipse%20fill%3D%22%23454545%22%20rx%3D%221%22%20ry%3D%221%22%20transform%3D%22matrix(-4.56593%20-27.57852%2015.1544%20-2.50898%2065.4%20127)%22%2F%3E%3Cellipse%20fill%3D%22%237c7c7c%22%20cx%3D%22219%22%20cy%3D%2261%22%20rx%3D%2248%22%20ry%3D%22255%22%2F%3E%3Cellipse%20fill%3D%22%237c7c7c%22%20rx%3D%221%22%20ry%3D%221%22%20transform%3D%22matrix(-58.91744%20-17.45214%2031.83523%20-107.47395%2023.2%2033.4)%22%2F%3E%3C%2Fg%3E%3C%2Fsvg%3E)
Confirmation prompt to publish the page privately

Going Live
Once we are satisfied with our pre-publish settings, we can click “Publish” again to confirm our choices.
Then, after a quick delay, our page is live! Notification bar appears at the bottom of the screen to tell us that publishing is complete. (If something has gone wrong, we will see an error instead.) A new panel also appears over our right sidebar, with a link to our new page.
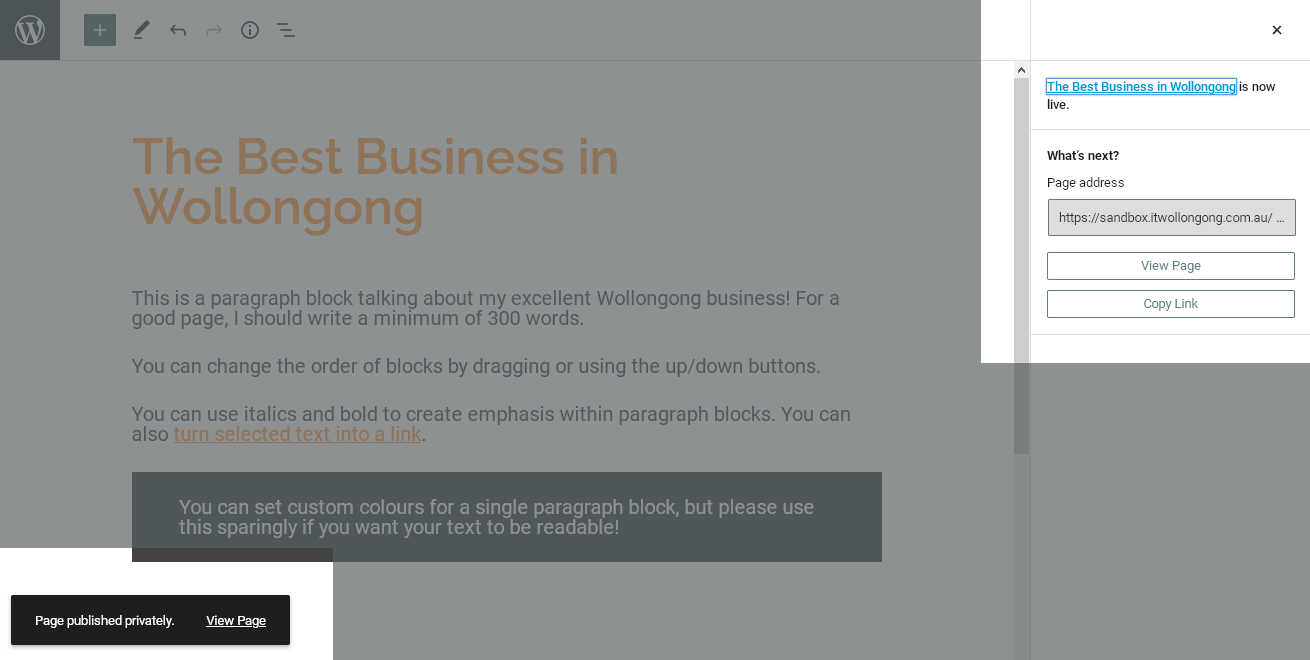
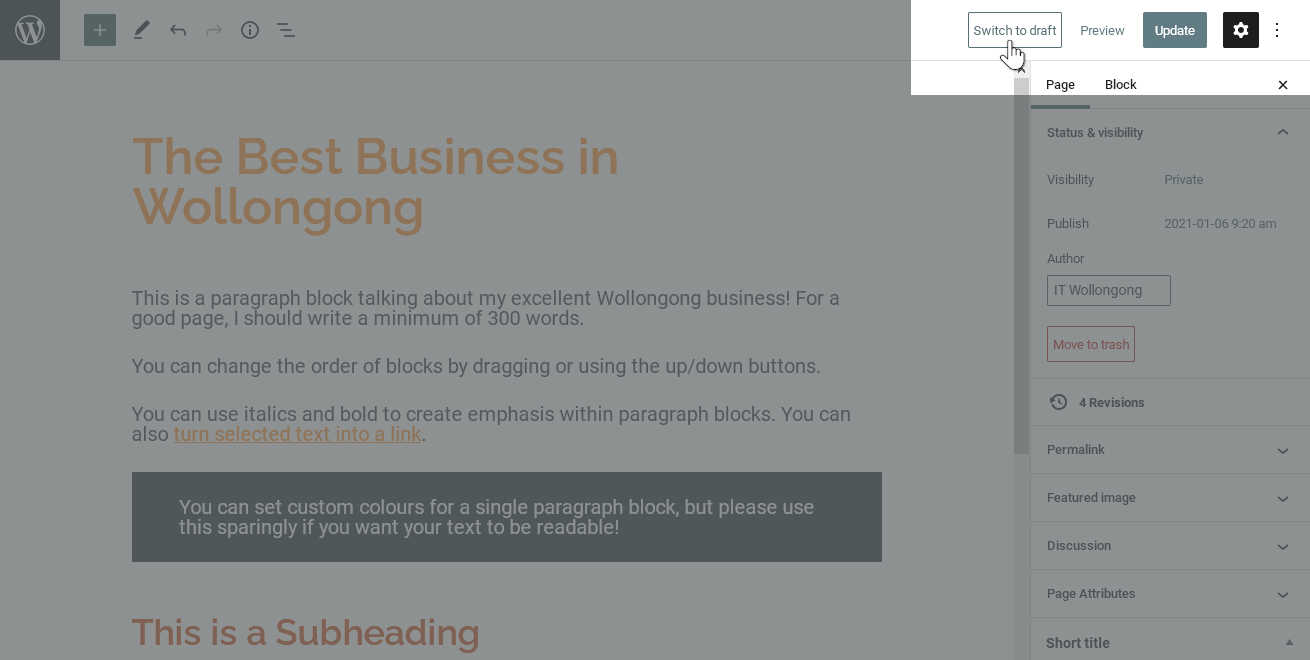
If we close this new panel by pressing the × icon, our normal right-side panel reappears. Note that the “Save Draft” button has now changed to “Switch to Draft“. If we make a mistake and need to “un-publish” a page, we can click this link to set it back to draft status.
Viewing Our Completed Page
Our first WordPress page is now complete! Let’s click the “Preview” link to see how it looks on the front end of the website. (We can also click the link that that popup notification.)
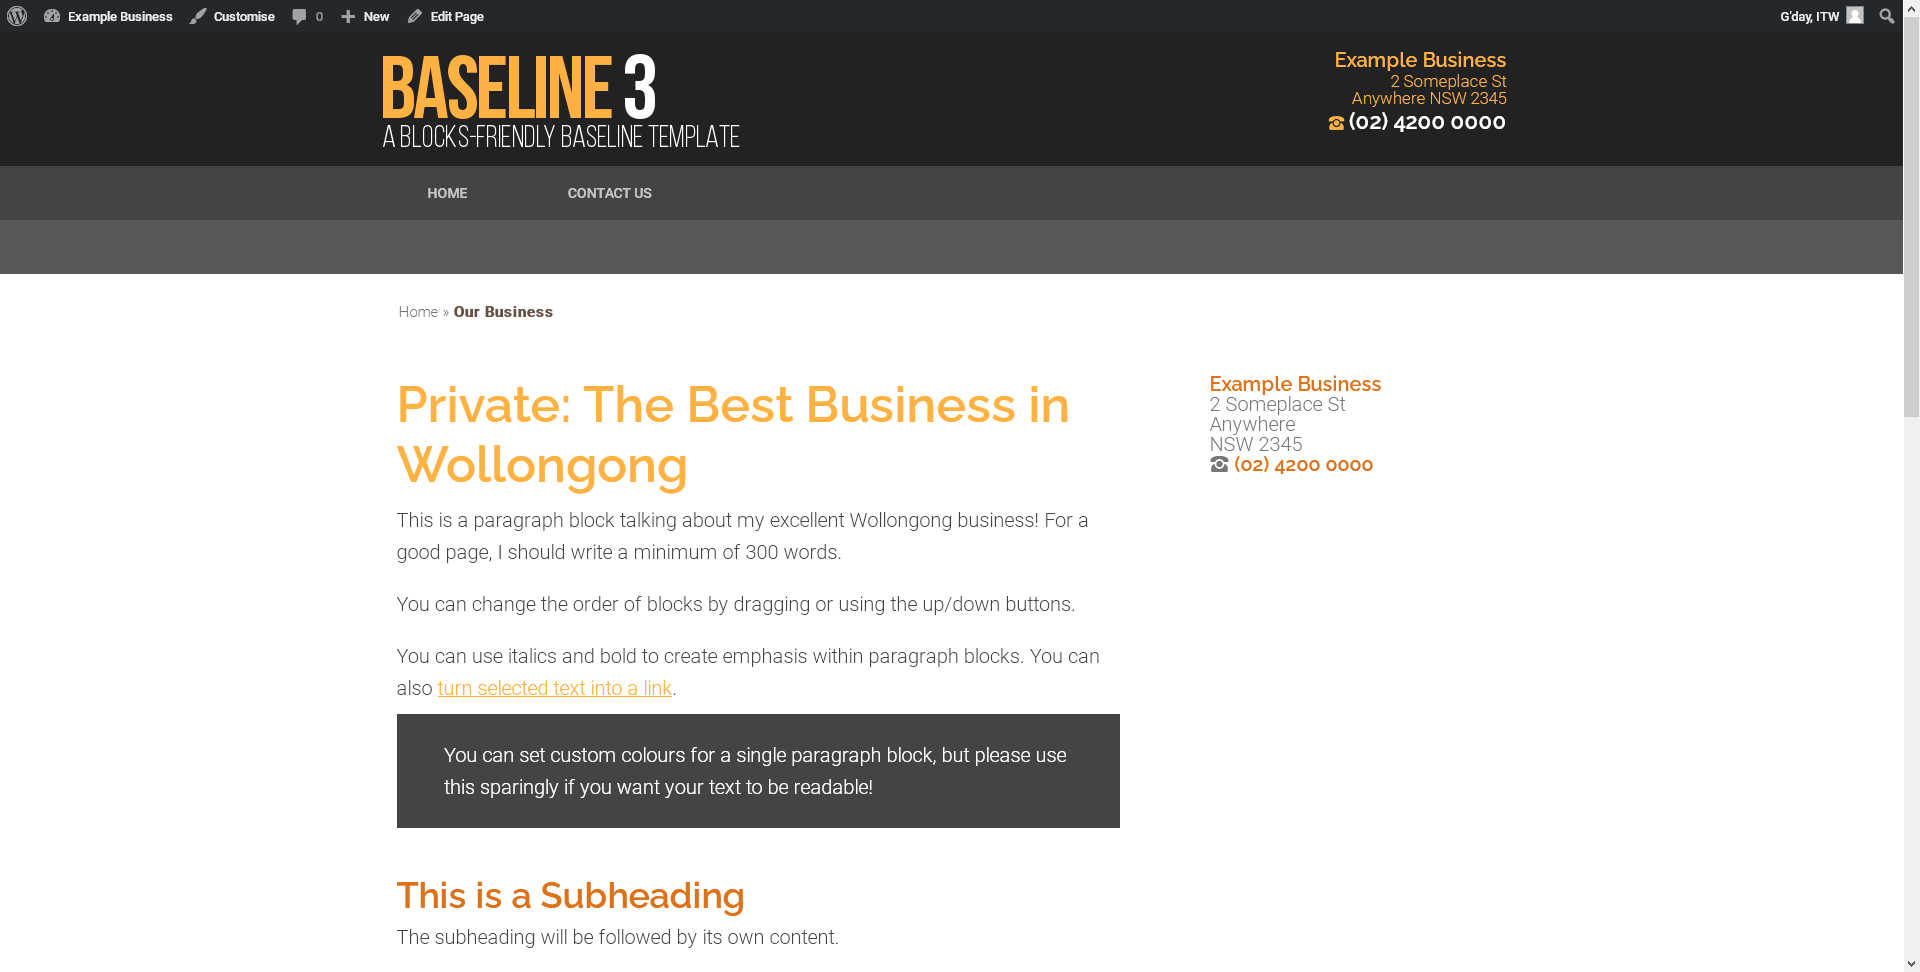
As we can see, our content in the Blocks editor looks very much like it does on the front-end. Our theme has placed our content in the template we chose (in this case, the default layout with sidebar) to create a complete page on our website. We can also see how the Short Title and Page Parent are used, in the “breadcrumb” style navigation links just above the Title.
Now that we have completed our first WordPress page, we can go on to create other content pages that provide further information about our business and services. We can use these skills to create blog posts, too, since they also use the Blocks editor.
What’s Next?
This concludes our beginner tutorial on creating & editing WordPress pages with the Blocks editor. We also some more tutorials to help you manage your WordPress site, including:
Have you come up against a problem you can’t quite tackle? IT Wollongong also provide WordPress training sessions to help you master your website. Contact Steve on (02) 4227 6630 to find out more!