
Need to familiarise yourself with the new “Block” style Galleries in WordPress? We’ve prepared this quick guide to help our customers get comfortable with this new way to add images to the WordPress sites.
This tutorial assumes you already know the basics of editing a WordPress page. If you’re not yet familiar with the Blocks editor, you may find it easier to start with our Creating & Editing Pages tutorial. Otherwise, read on for an overview of how to work with the new Gallery block.
This tutorial deals with the Blocks editor, which is different to the Classic editor that shipped with WordPress prior to version 5. If you’re working with an older WordPress version (or using the “Classic Editor” plugin), please see our tutorial on Working with Galleries (Classic Editor).
Gallery Basics
In WordPress, a Gallery is different from simply placing multiple images on a page. It’s also not just a general term for a page that displays lots of images. It’s a specific Block, used to display a related group of images in a standardised layout.
Because a gallery is a block, you can place galleries amongst other content as you please. You can also place more than one gallery on a page, which is useful if you want to separate your images into groups. However, if you just want to add more images without creating a new grouping, you should edit an existing gallery rather than creating a new one.
In this tutorial, we’re going to look at how to create a new gallery, and how to edit an existing gallery to add or remove images. We will use our previous knowledge of the Blocks editor interface and the Media Library, particularly what we learned in the Working with Attachments tutorial.
Create a new gallery
To begin, we need to add a new empty Gallery Block. We’ll click the “Add Block” button and select “Gallery” from the common blocks. (As always, if you don’t see the block you want here, you can click “Browse all” to see the full list.)
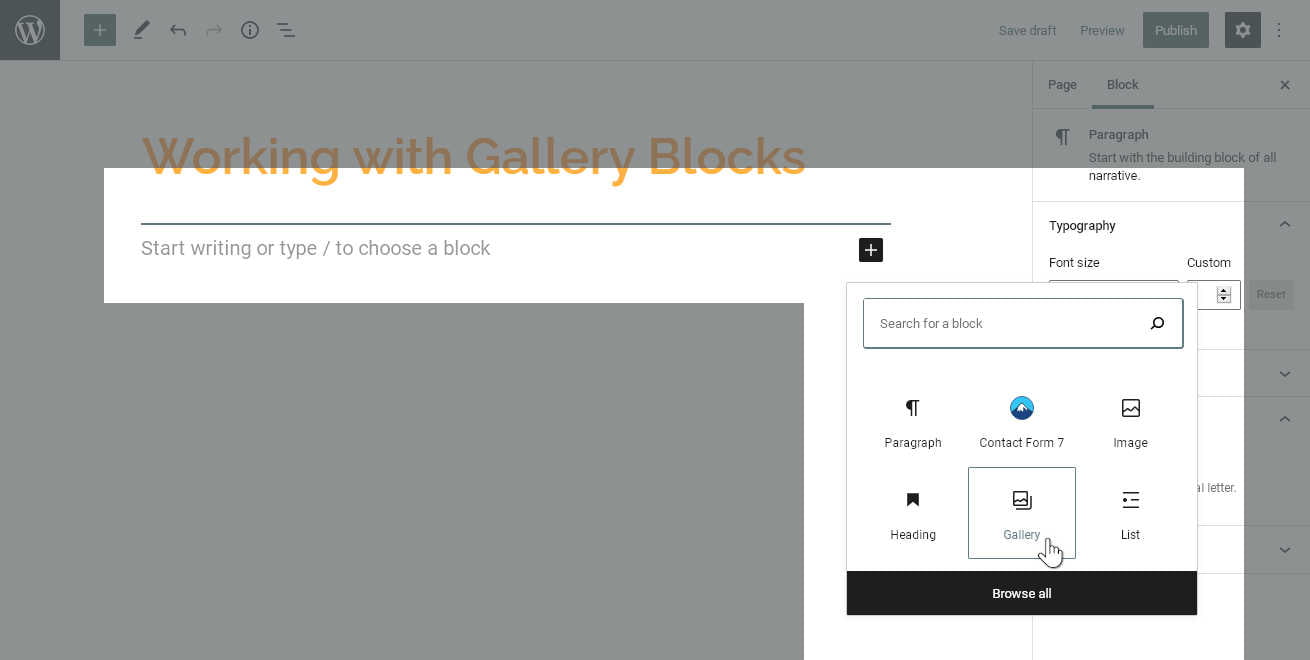
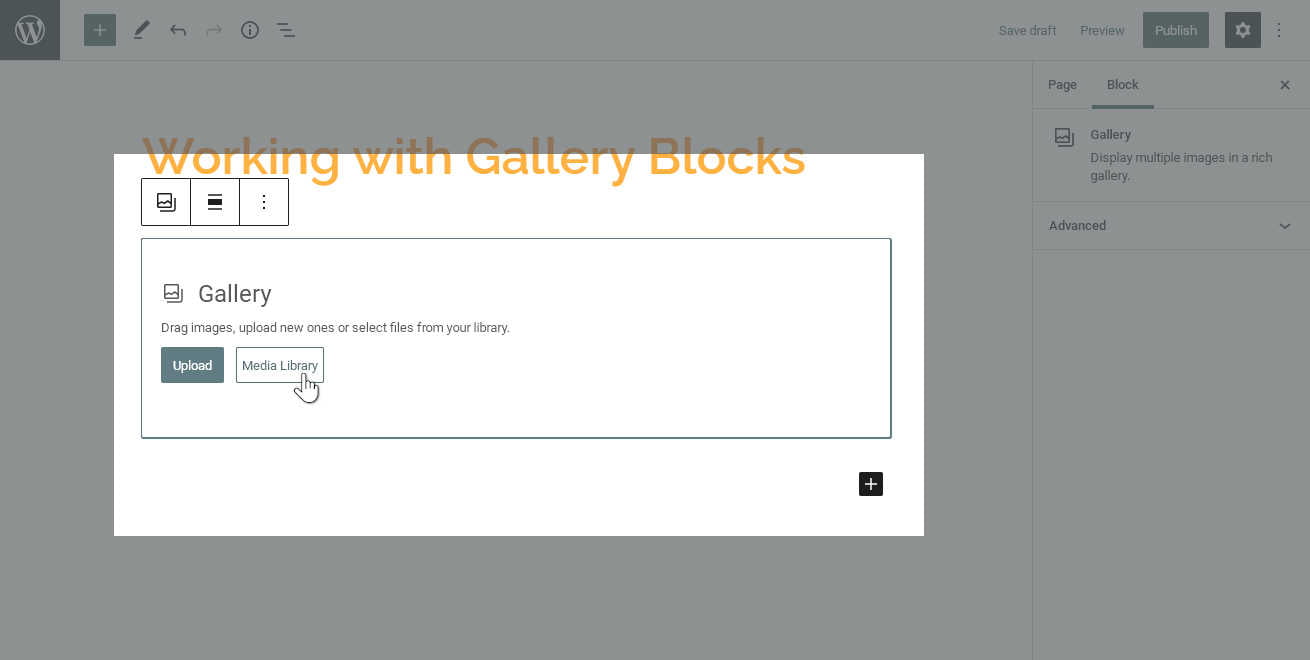
WordPress adds a new, empty Gallery Block to our page. At the moment it looks very much like an Image Block, which we worked with in earlier tutorials.
As with our Image Blocks, we’re going to choose our images via the Media Library. We will click the “Media Library” button to open our media library popup.
Selecting Gallery Items
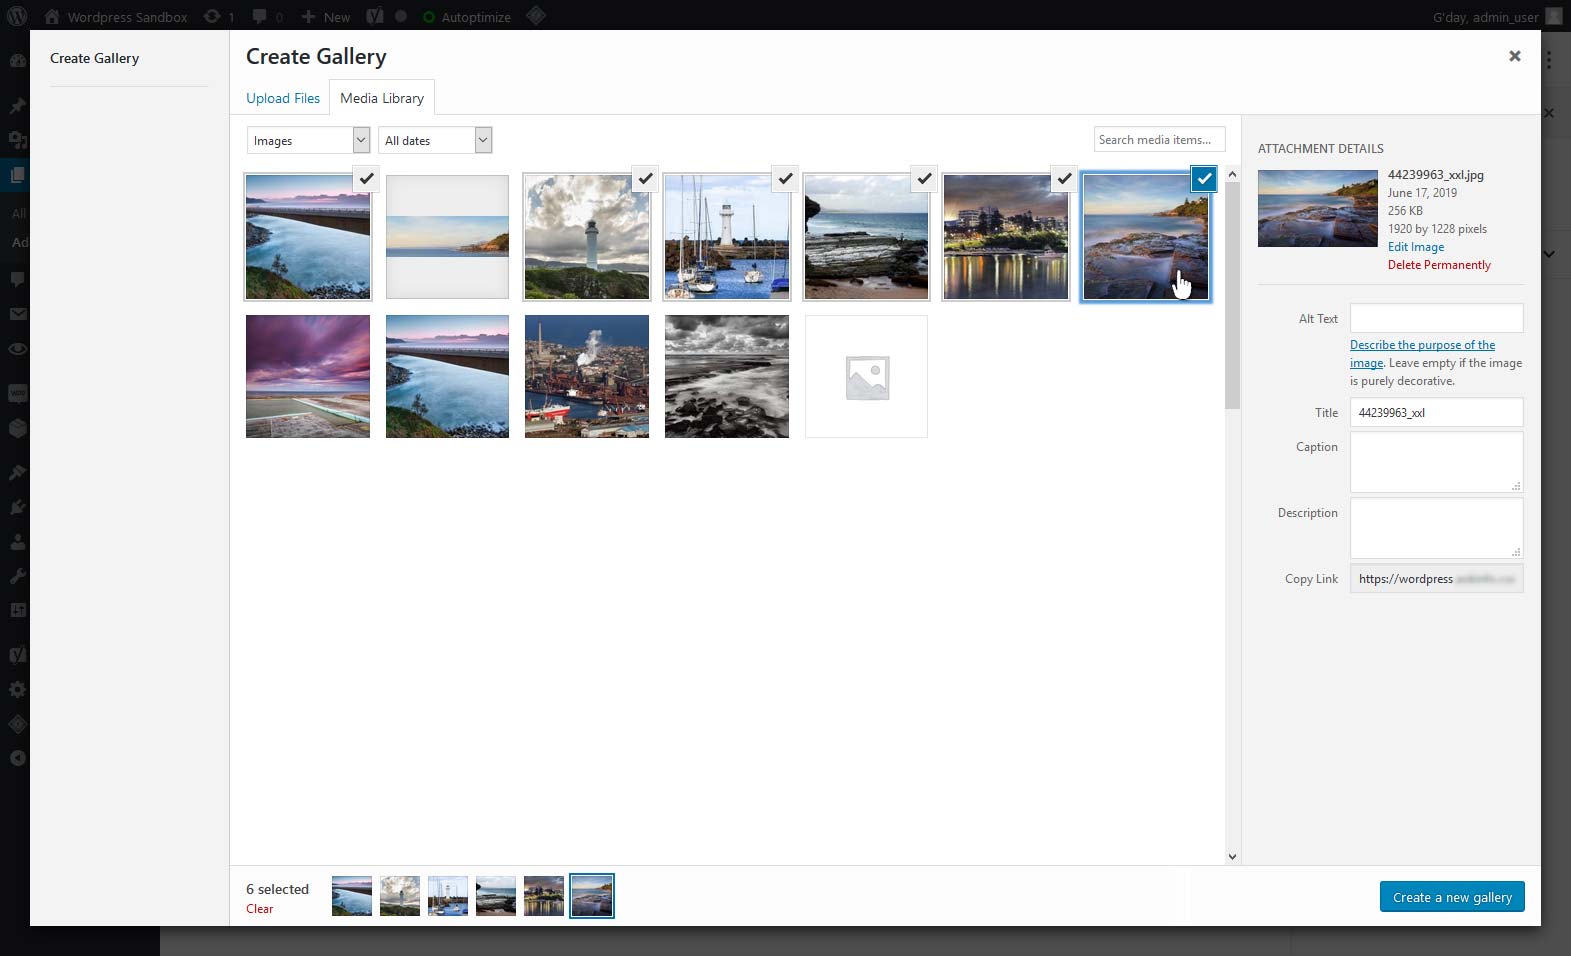
Selecting items is a lot like when we made an Image Block, but with one major difference: now we are selecting a group of images. Before, we could only click on one image. This time, we will click on each image we want to include.
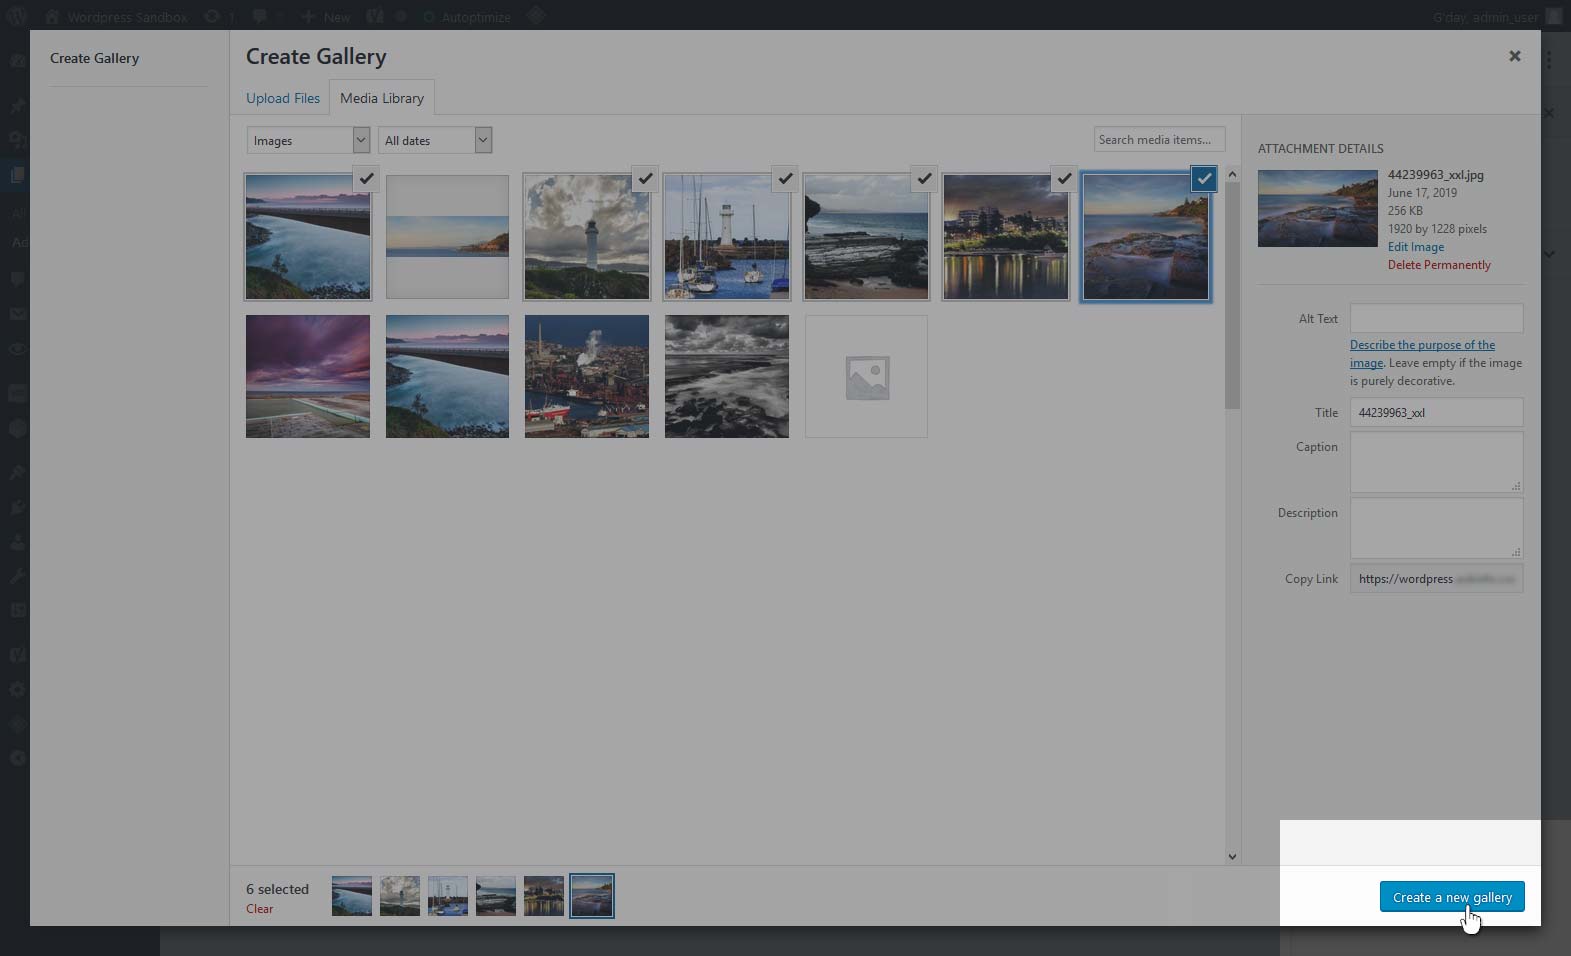
Each image we select displays tick mark in the top right corner. They also appear in a list at the bottom of the window.
Note: If you haven’t already uploaded your images, you can also do that now. This uses the same process we covered in the Working with Attachments tutorial.
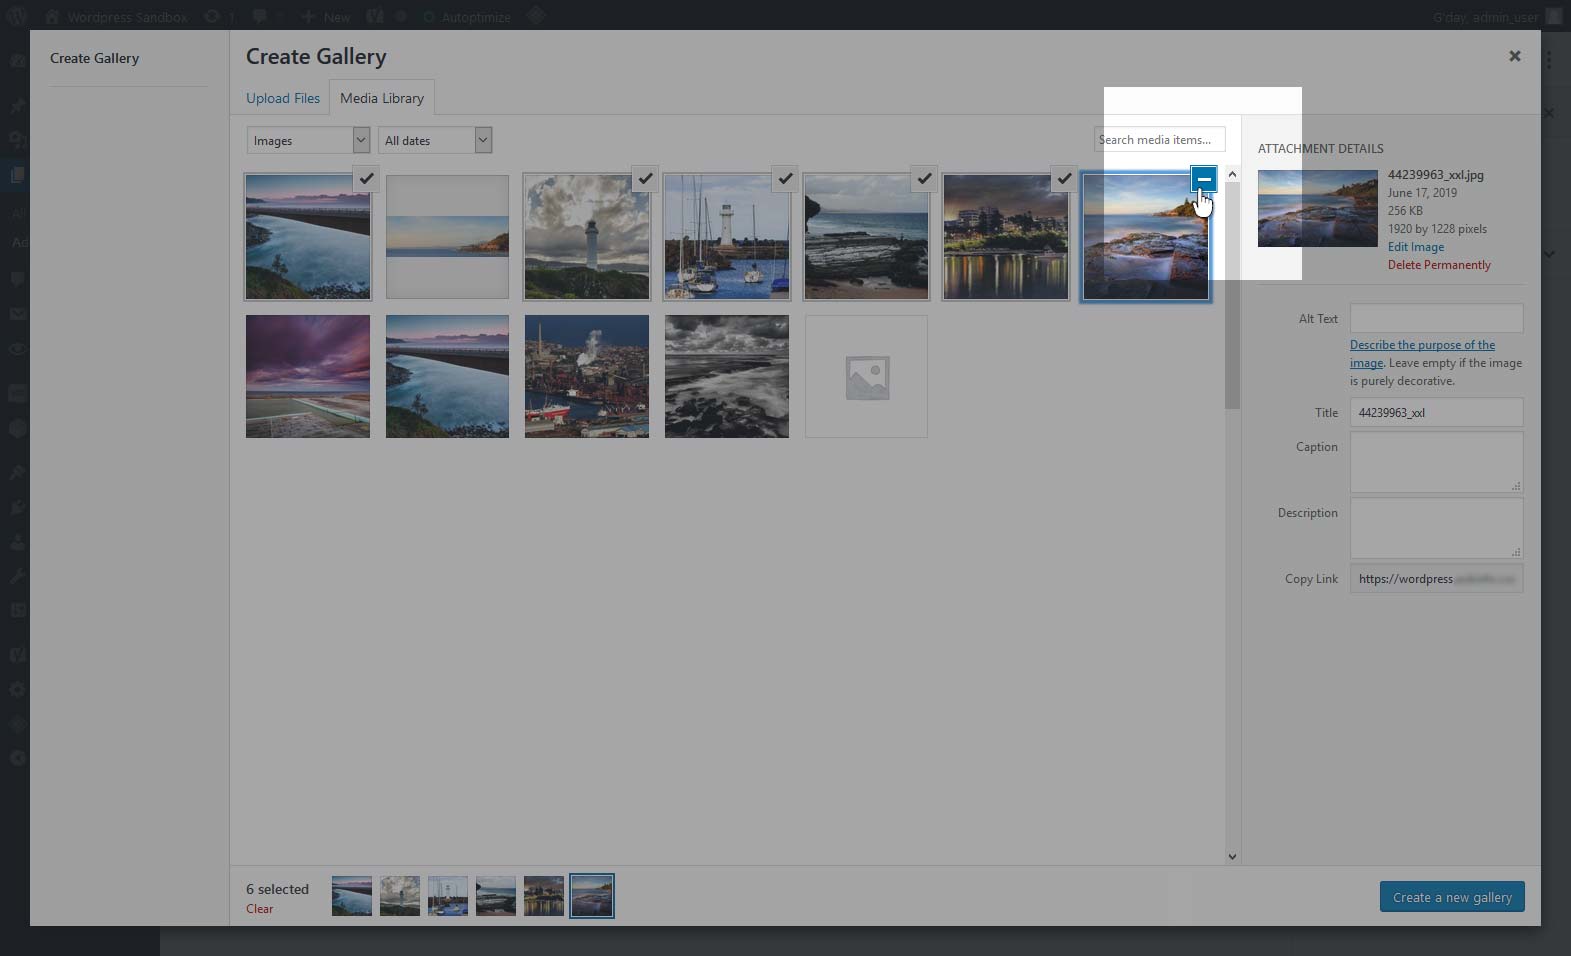
If we decide we don’t want one of our selected images, we can also deselect an image during this step. When we hover the mouse cursor over the tick mark of an image, we see it turn into a minus sign instead. If we click the minus sign, we will deselect the image.
Once we are satisfied with our selection, we click the “Create a new gallery” button in the bottom right corner of the window.
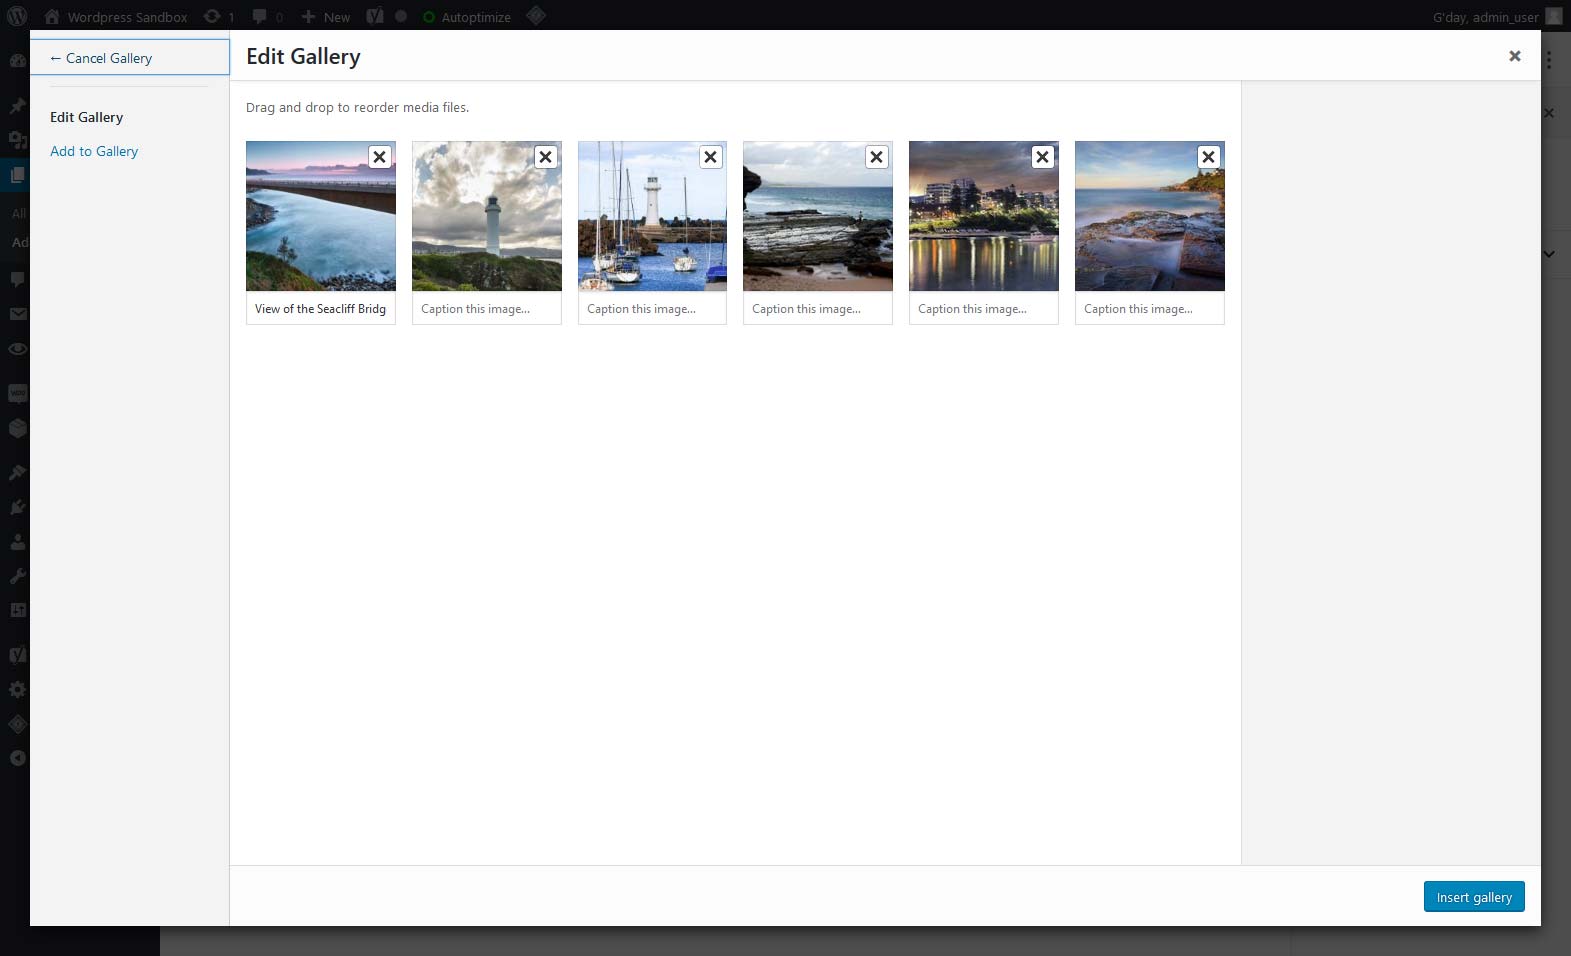
The popup now shows only the contents we have selected for our gallery. They appear in the same order we selected them, regardless of their order in the Media Gallery.
Attachment Details and Ordering
On this screen, we can select an image to see its Attachment Details, like when we we worked with Image and File Blocks earlier. Likewise, it would be a good idea to add alt text and captions now, to any items which don’t already have them
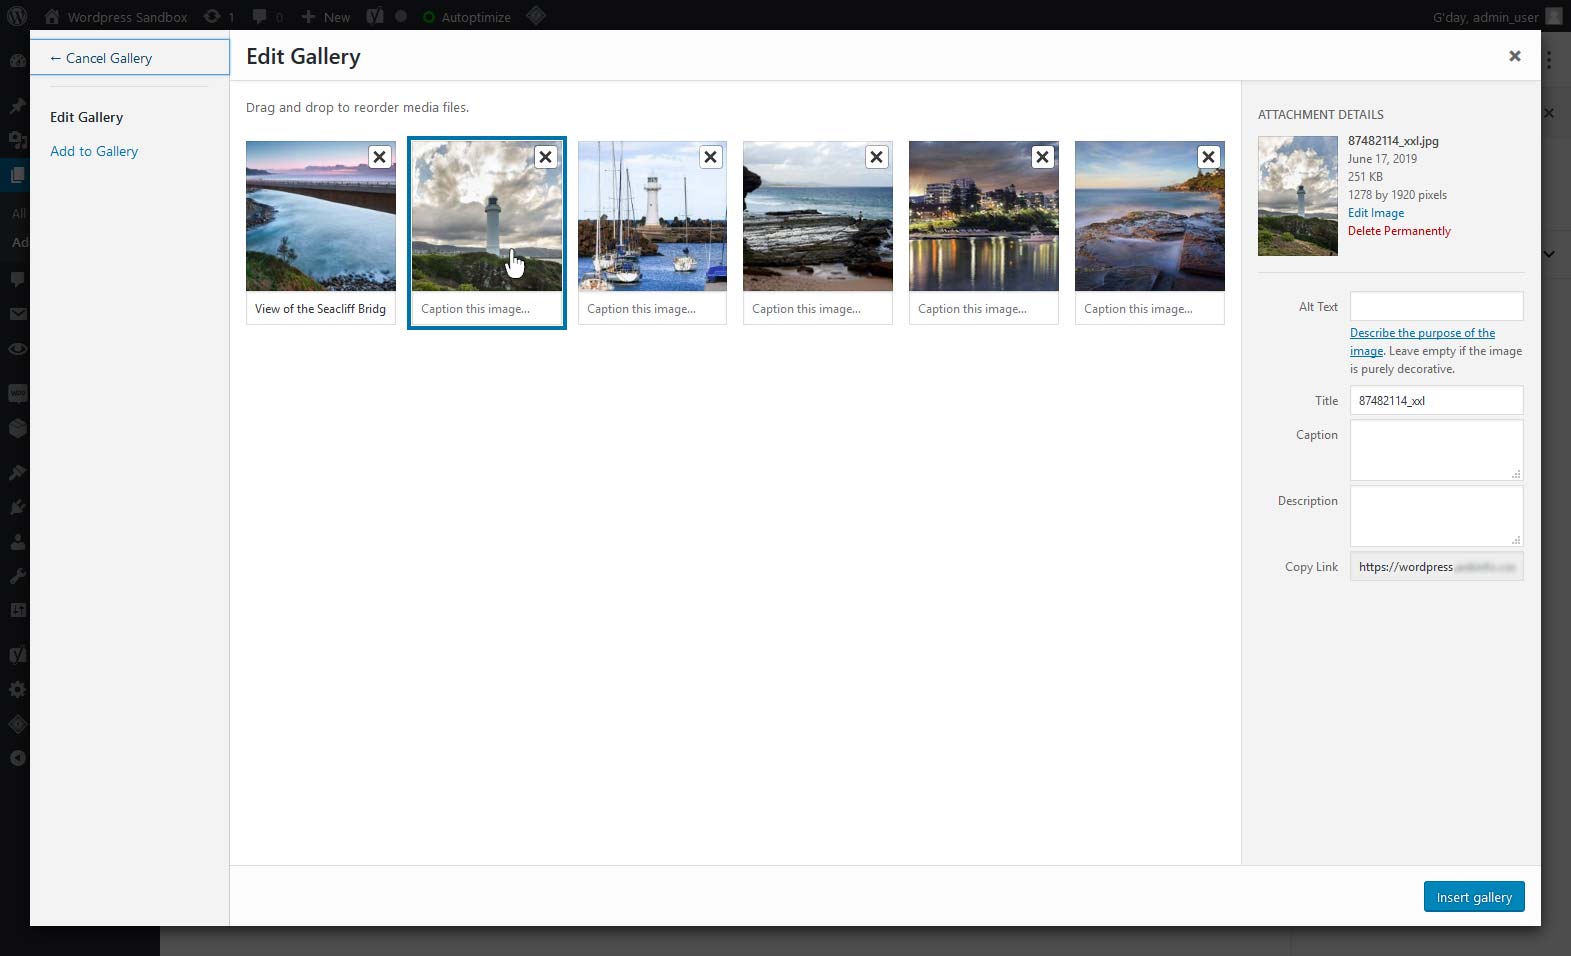
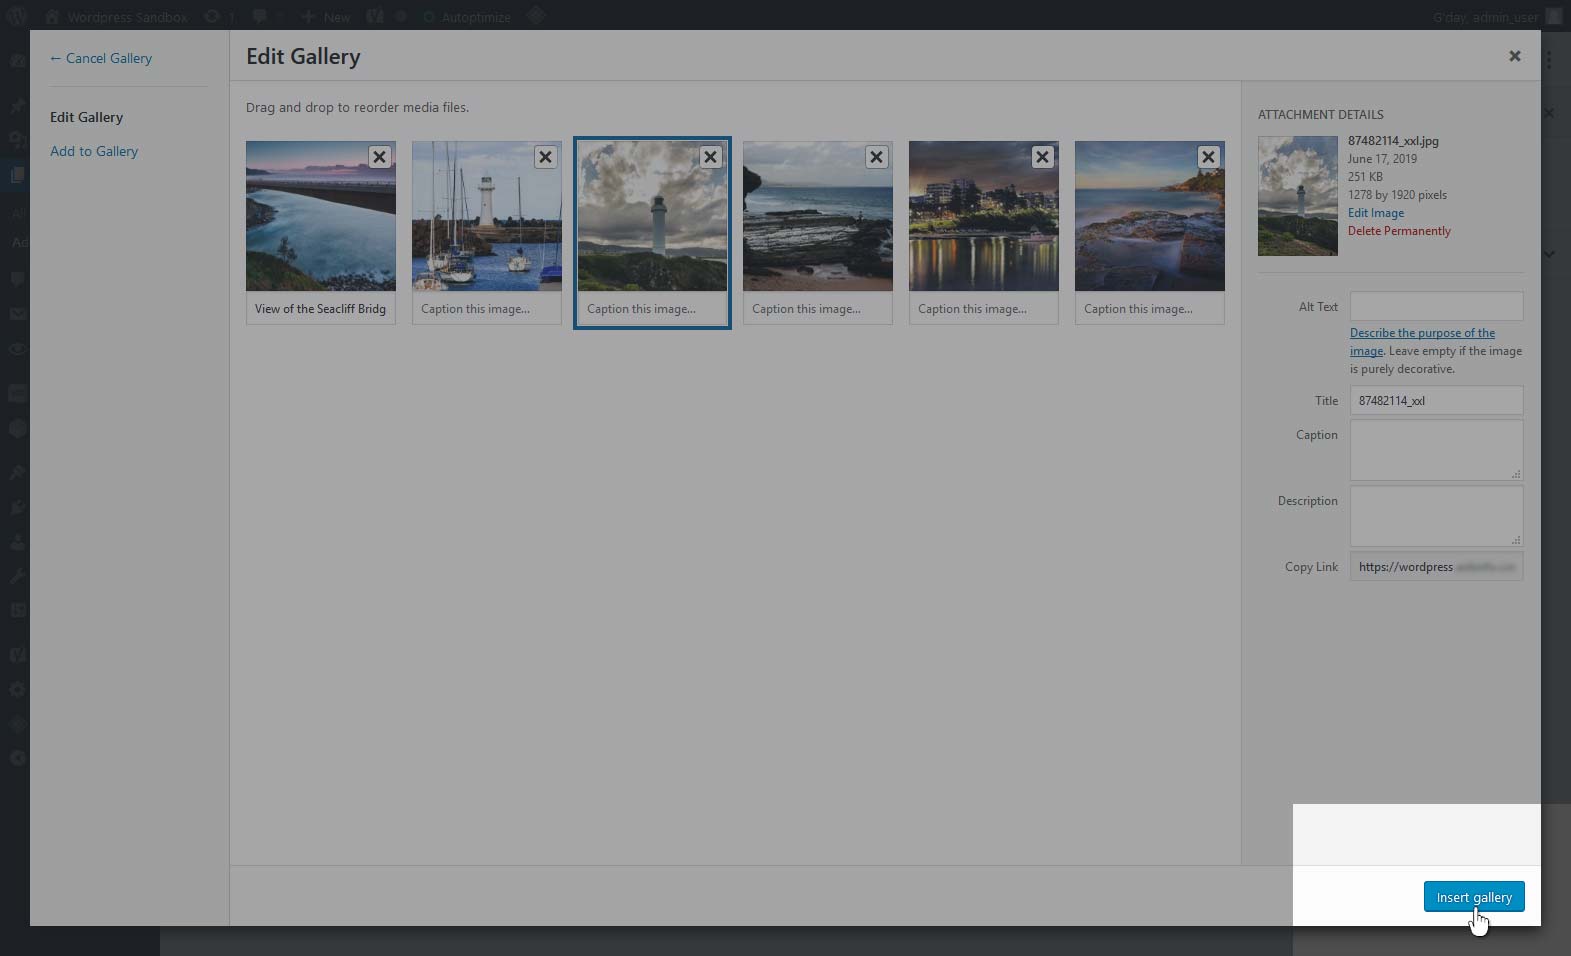
If we want to change the order of our gallery items, we can also do that on this screen. By clicking and holding on a thumbnail, we can drag it from its current position to some other position we want.

Finally, when we are happy with the details and order of our gallery items, we are ready to insert it into the block. In the bottom right corner of the window, we click the “Insert gallery” button.
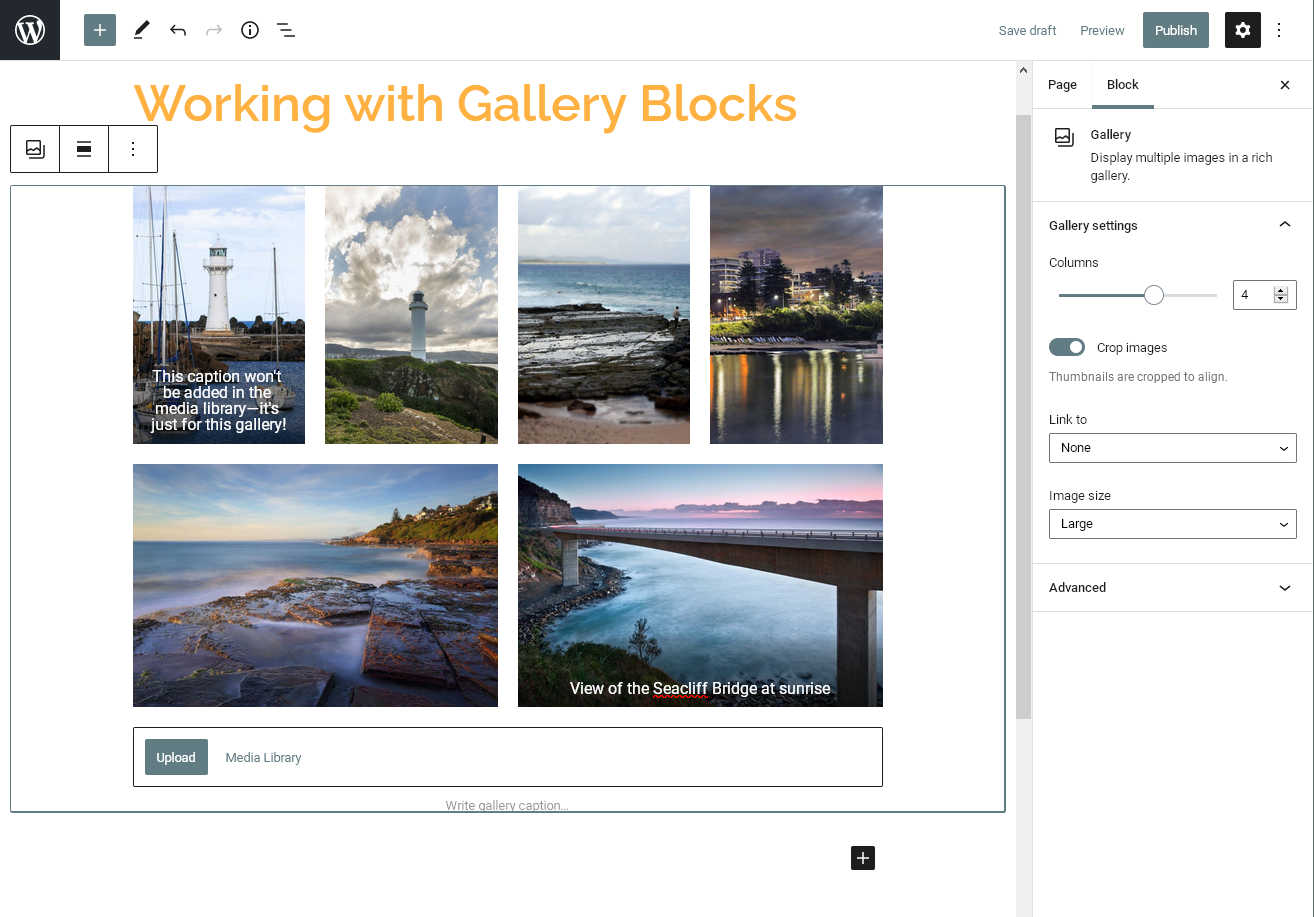
The completed gallery block now appears in the Blocks editor. This preview should be very close to how the gallery will appear on the front end, so we can now use it to fine-tune the presentation of our gallery.

Gallery Display Options
Like when we worked with Image blocks, we have some further options for customising the style of our gallery. These options appear in the the “Block” panel on the right-hand sidebar while the Gallery block is selected.
Note: If you don’t see Gallery settings, you may need to select the “Block” tab at the top of the sidebar, instead of the “Document” tab. If you don’t see the right-hand sidebar at all, click the gear icon at the top right to restore it.
Columns
Firstly, we can adjust the “Columns” slider (or use the up/down buttons) to choose how many images a gallery displays per row. Our images instantly scale and adjust according to the number we choose.

If the Columns setting doesn’t divide evenly into our total number of images, the final row of our gallery will typically be scaled to fill the whole row anyway. (This might change, depending on your theme.)
Cropping
Secondly, we can choose whether WordPress will crop our images to fit the gallery settings we have chosen. Cropping ensures that the gallery images display in a uniform grid; each item is scaled to suit the “Columns” setting, then cropped so the entire row has the same height. If we turn it off, the images will still be scaled, but will retain their original aspect (width to height) ratio.
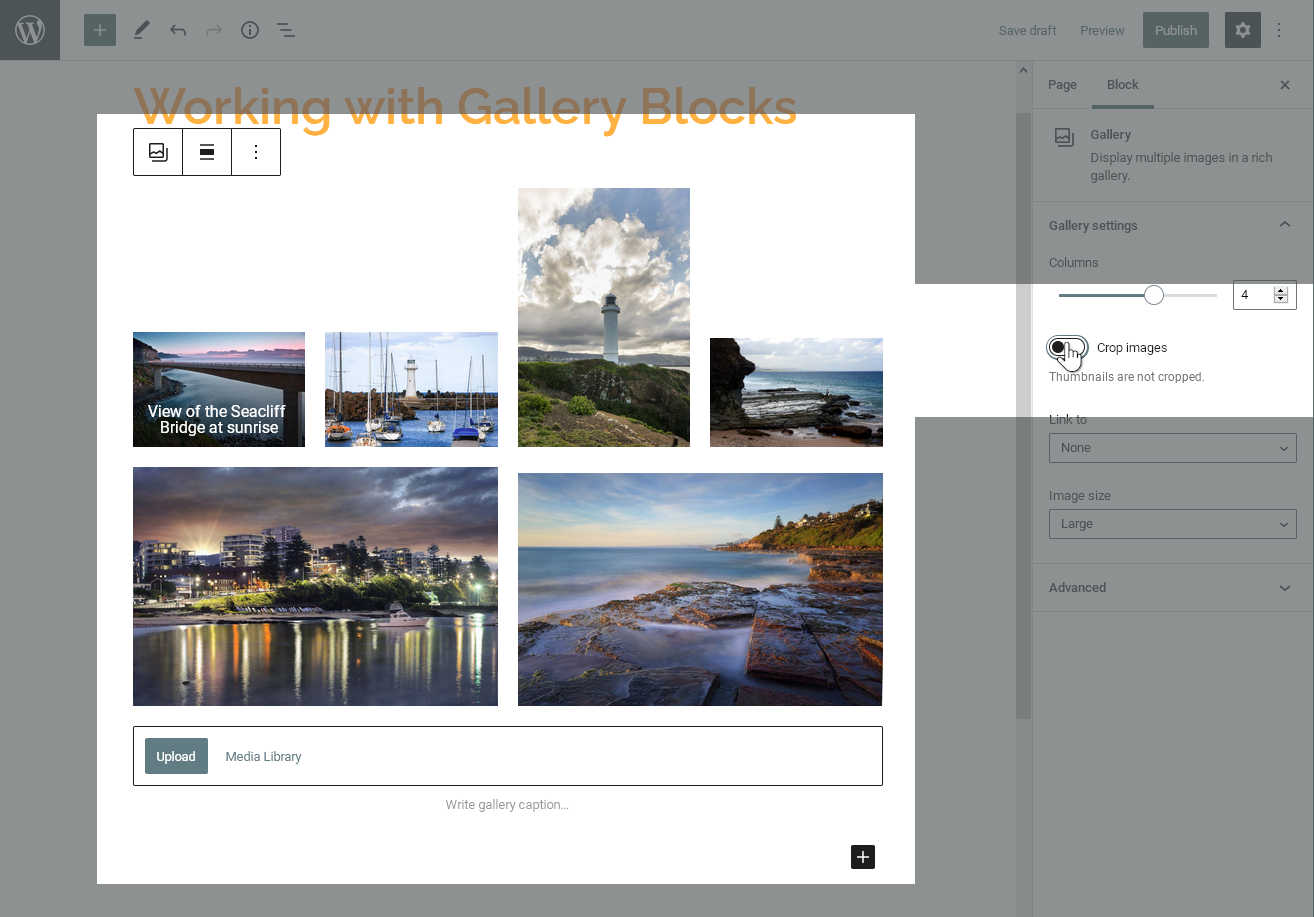
Cropping is on by default, and usually we will want to leave it that way. However, sometimes we might have a reason to disable it (for example, if our images are already a uniform size).
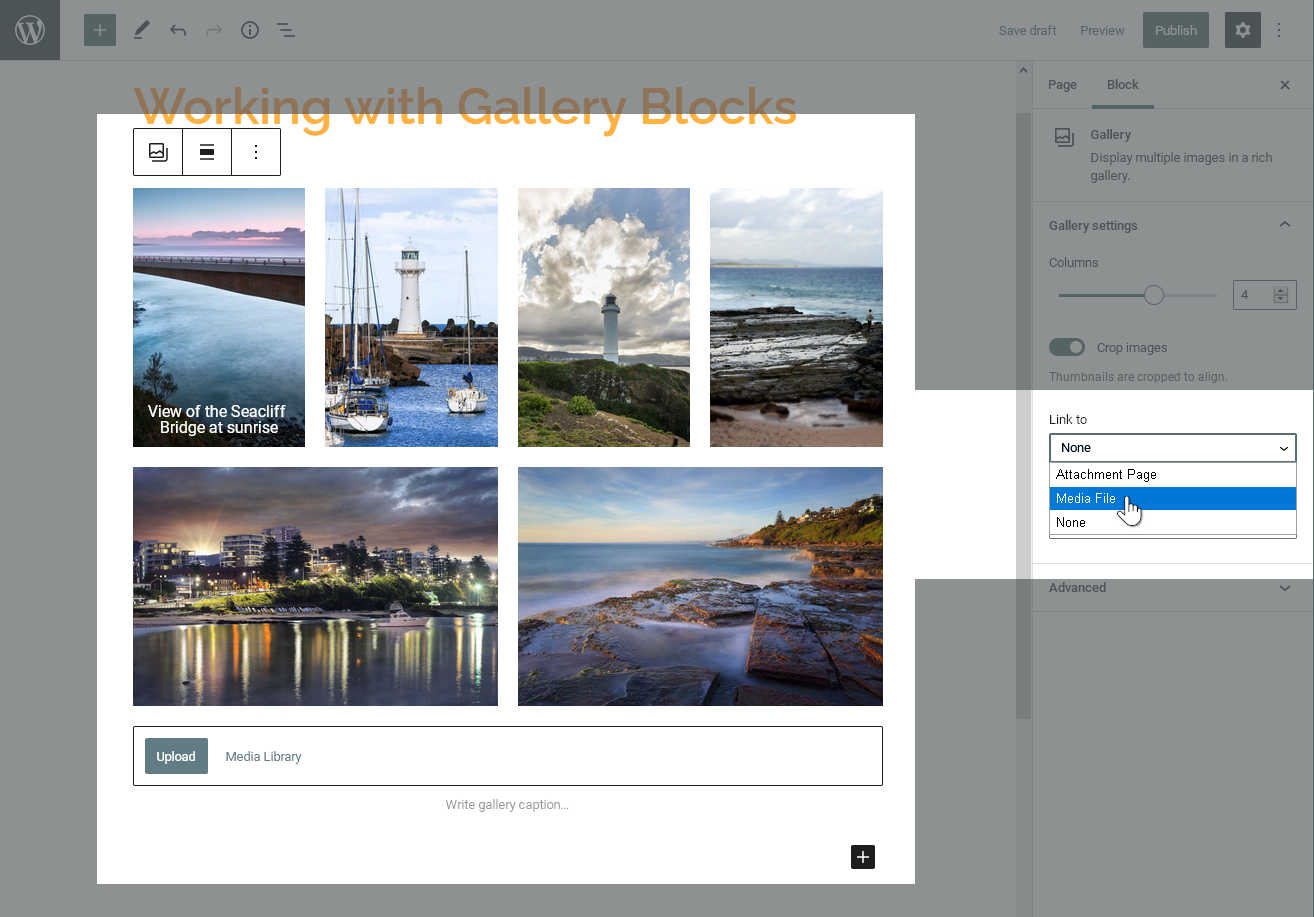
Media Link
We can also decide what should happen when a visitor clicks on a gallery image. If we click in the “Link To” drop-down box, we can choose whether clicking a gallery image should open the full-size image, go to the attachment page (not recommended), or do nothing.
By default, the gallery has no link assigned. However, visitors typically expect to open the full-size image when they click on a thumbnail. Let’s select “Media File” to make sure that happens. (The image will show in a lightbox popup, if you are using an IT Wollongong theme).
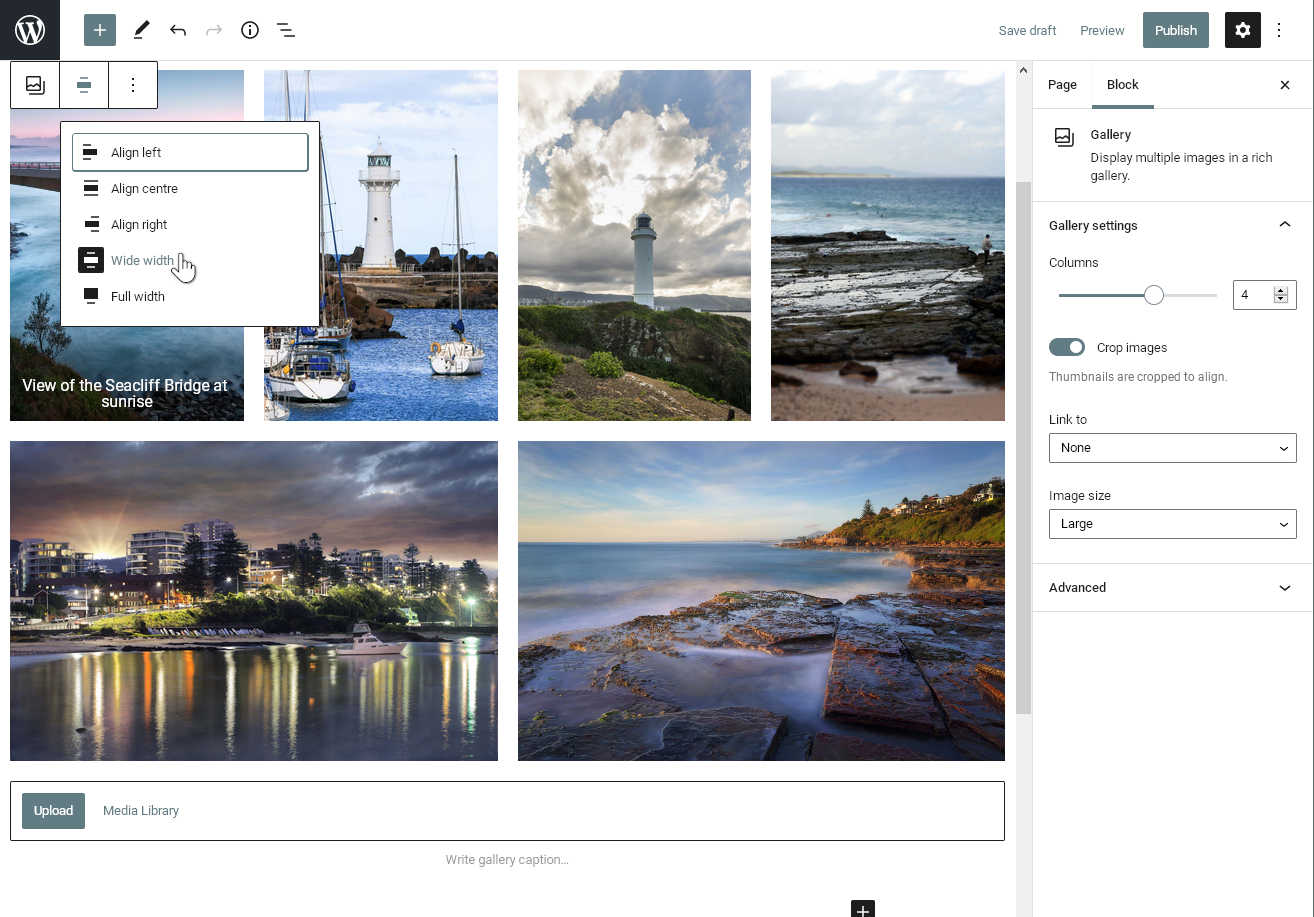
Alignment options
Finally, we can also set a width or alignment value for our gallery, like we did when we worked with Image Blocks. Note that this affects the gallery block as a single item; the individual thumbnails within the gallery are aligned/scaled automatically.
Edit an existing gallery
(Including adding, updating and removing items)
Now we have our gallery in place and ready to publish. But what if we need to make changes at a later date? Let’s look at different ways we might need to update an existing Gallery block.
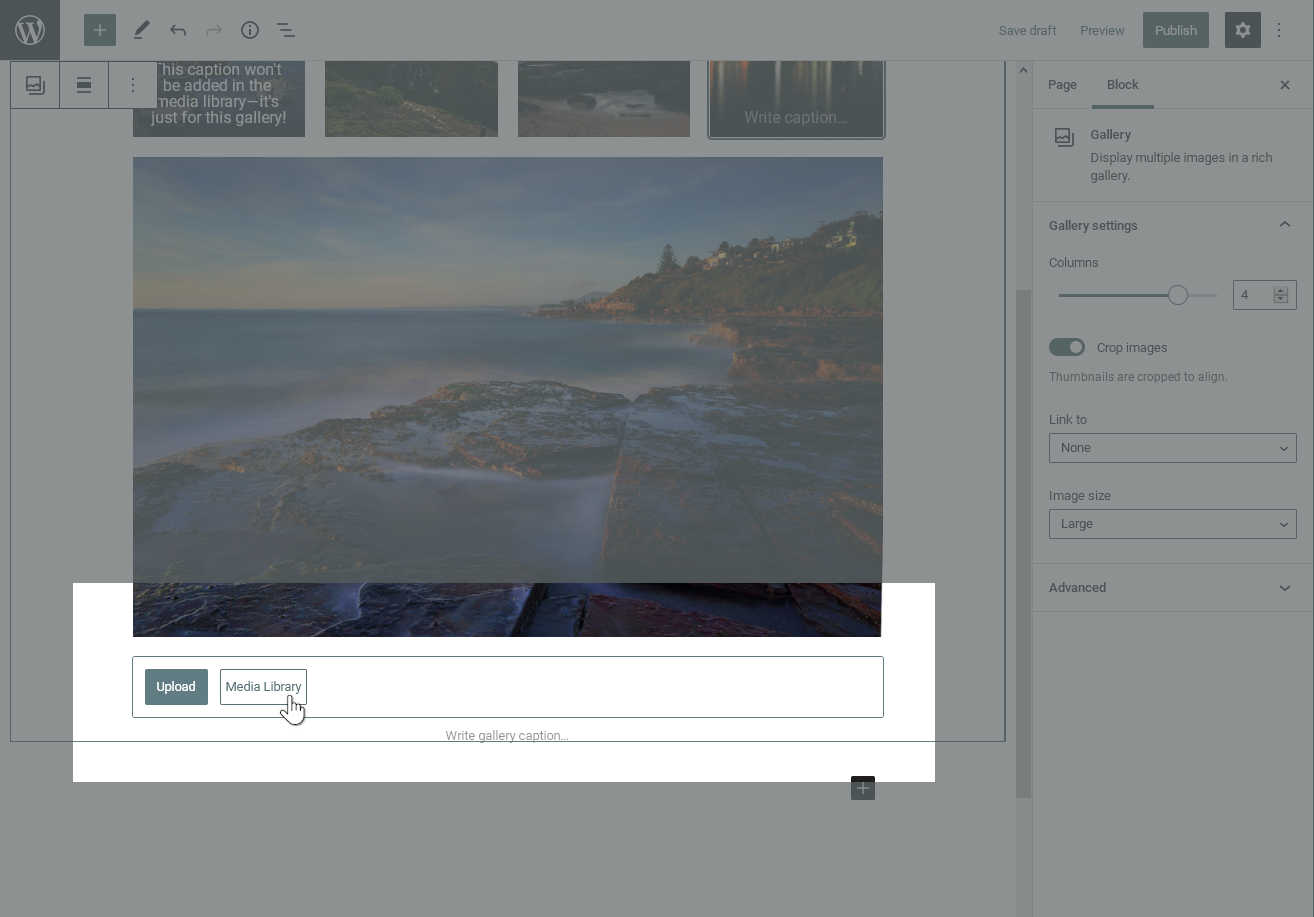
Add/Change/Remove a caption
Sometimes we add an image to a gallery without first giving it a caption. Or, perhaps we would rather have no caption for this particular gallery. We might also decide that we don’t want to use the caption imported from the Media Library, and would rather pick a custom caption for a given image.
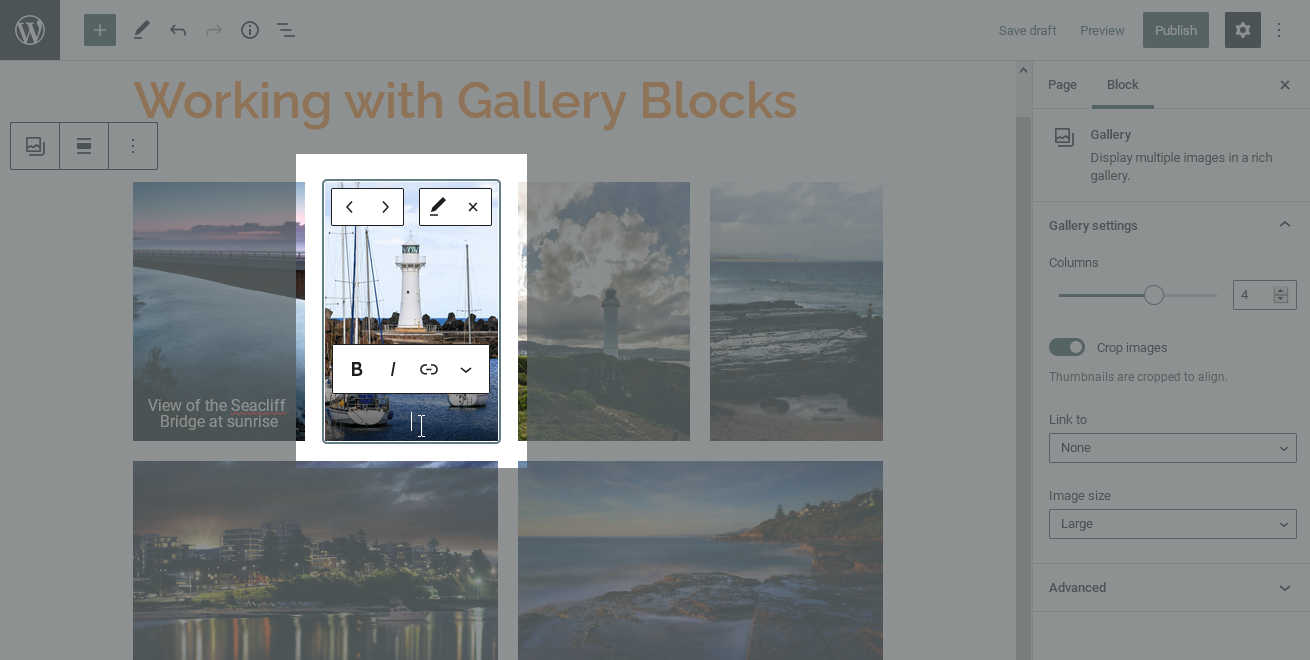
To change the caption for a gallery image, we begin by clicking on the image to select it. A border appears around the image to show that it’s active. If the image has no caption, some placeholder text will also appear in the caption area.
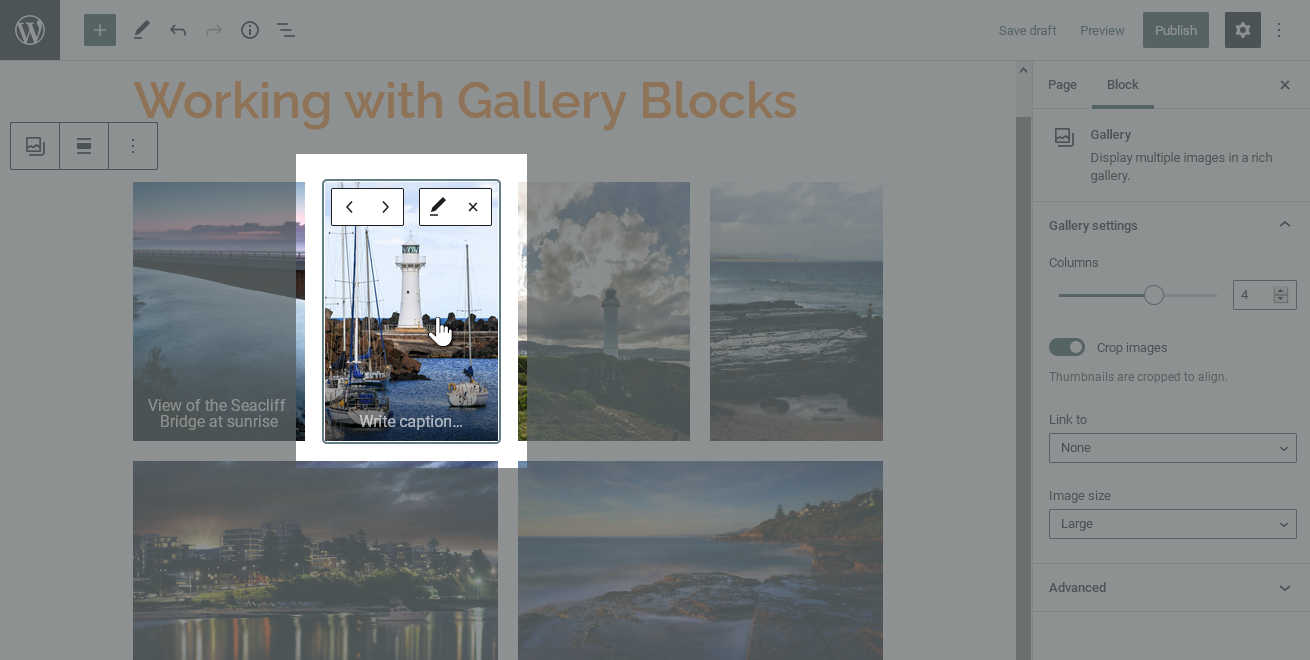
If we click in this caption area, a text cursor appears, along with some basic text controls.
Now, it’s simply a matter of typing the text we want for our new caption. (Or deleting the text that’s here, if we want no caption.)
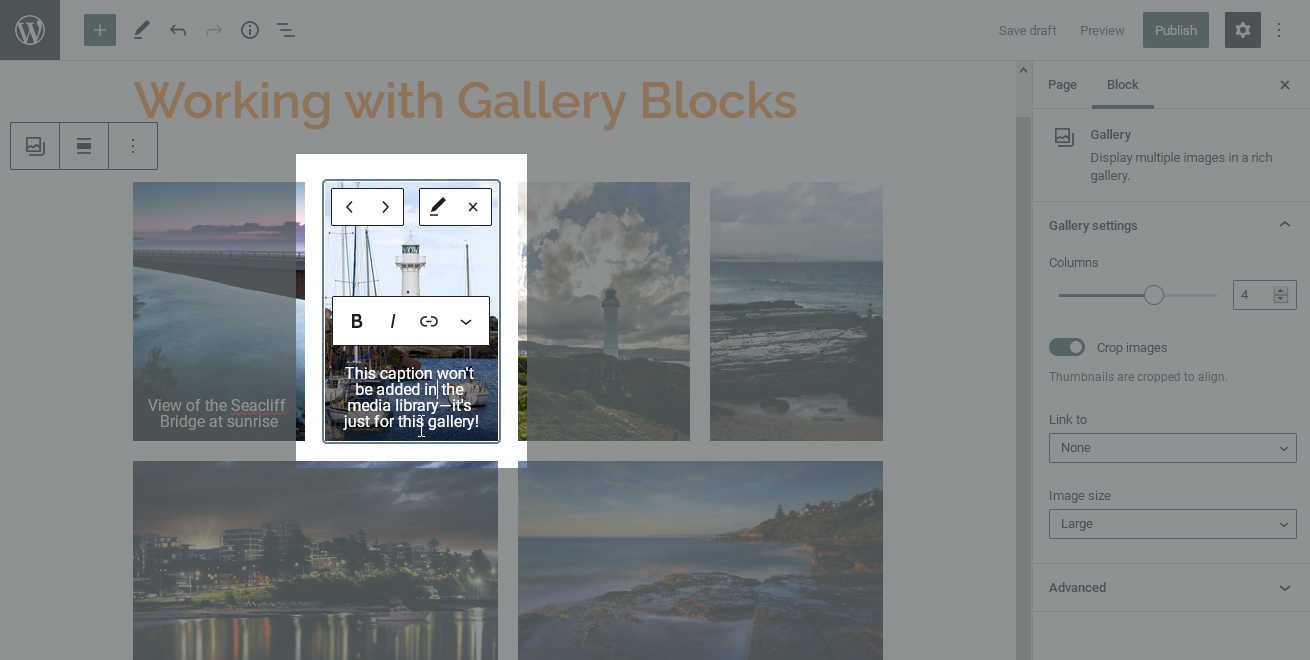
Single-Use Captions
If you change the caption in the Media Library, it will be saved to the image. If you select that image from your Media Library again in the future—for example, if you use it later in a different gallery—WordPress will use that caption by default.
However, if you change the caption in a gallery or image block, it will only be saved to that block. (Alt text and Title text entries behave in the same way.) This is valuable because it allows you to re-use one image with many captions, rather than uploading the image multiple times!
Remove an item from a gallery
To remove an image from our gallery, we begin by selecting the unwanted item. When the blue border appears to show that the item is selected, we can see there is also an ✖ button in the top right corner of the thumbnail.
Then, we simply click the ✖ button to remove the item. (The image will remain available in the Media Library.)
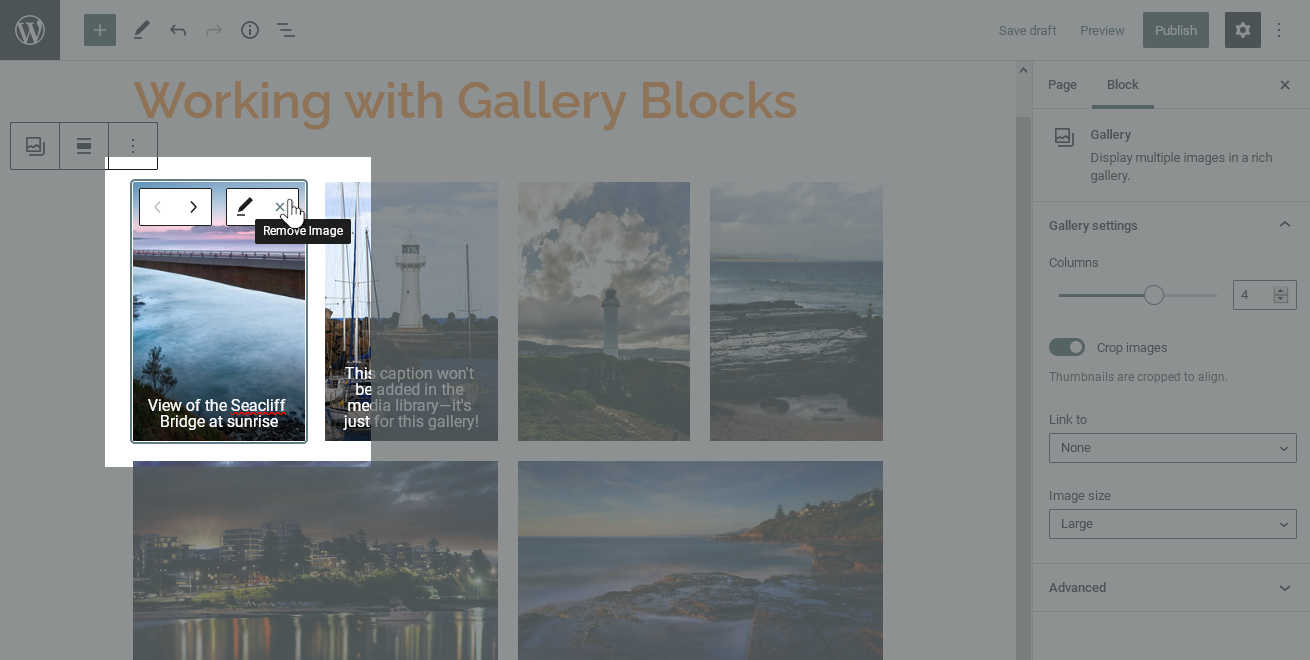
After we remove an image, the remaining images automatically scale and reposition according to the new item count.
Add new items to a Gallery
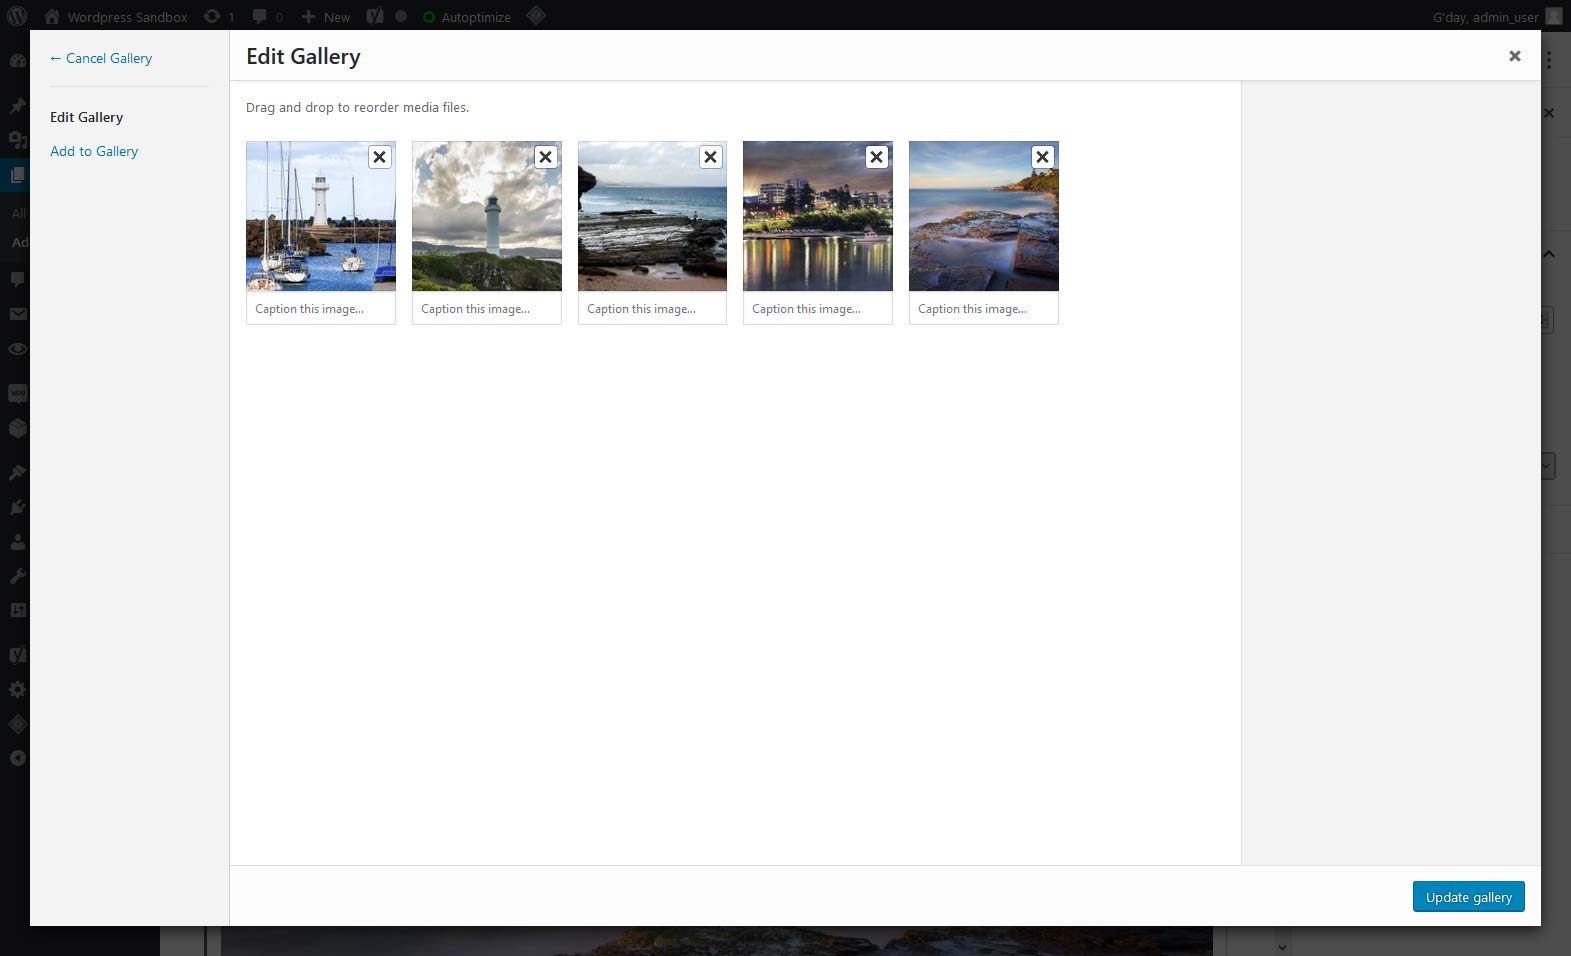
To add more images to our gallery, we will return to the Media Library. From the Gallery block toolbar, we click on “Edit gallery” button (pencil icon).
This returns us to the window we used earlier, to provide attachment details and re-order our items. (We can also change those values while we are here, if we need to.)
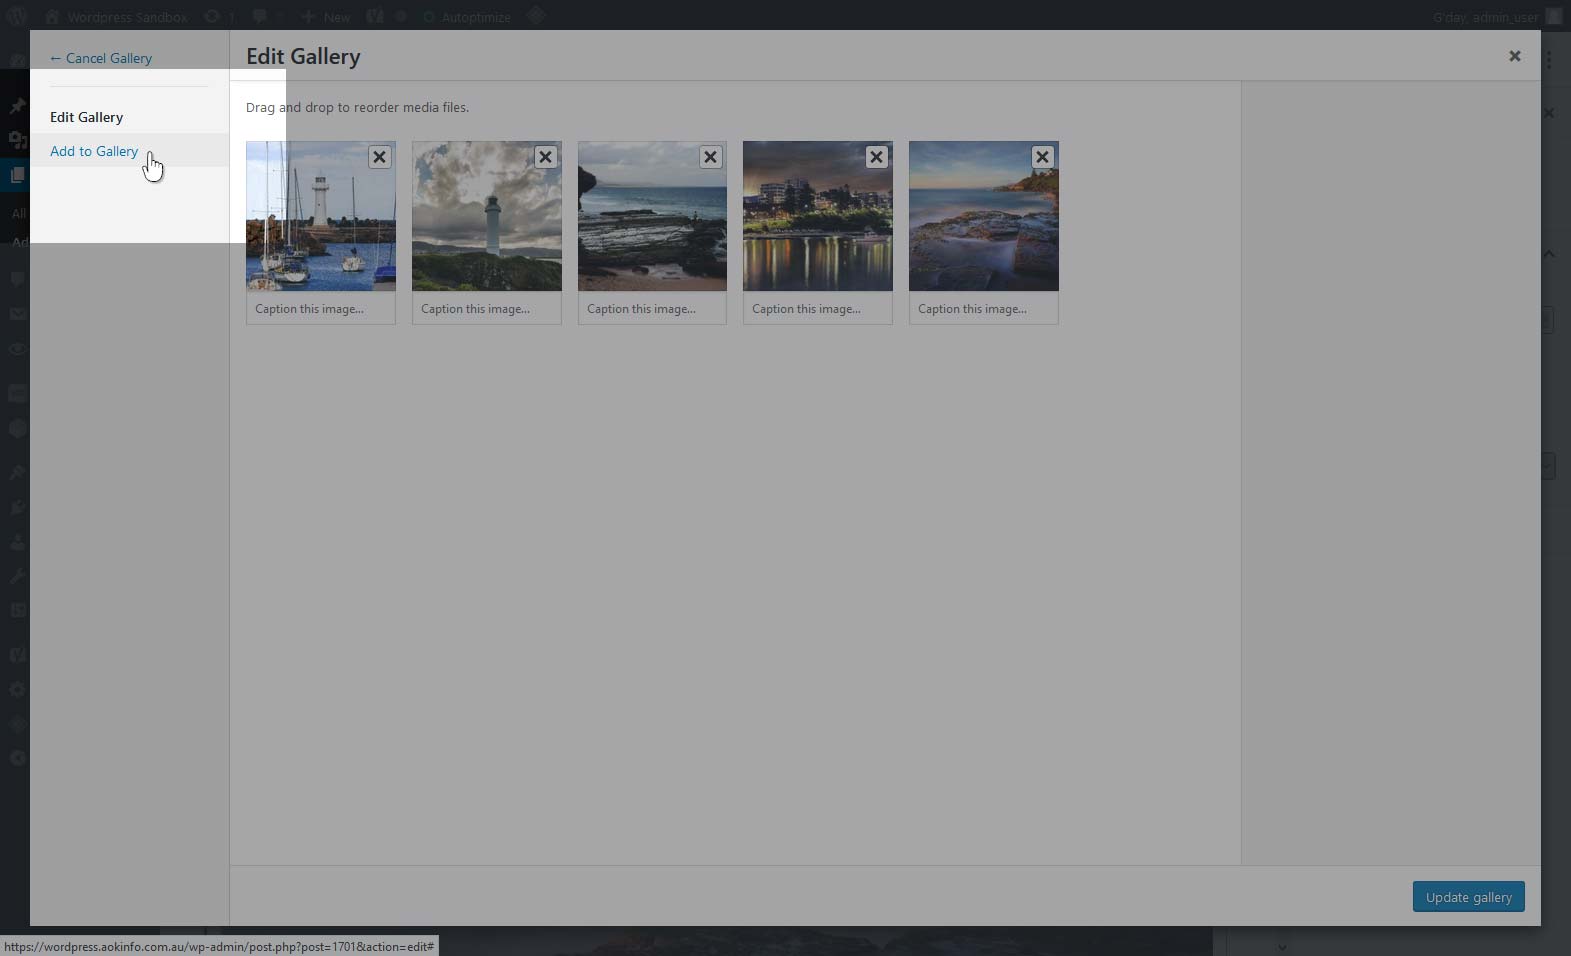
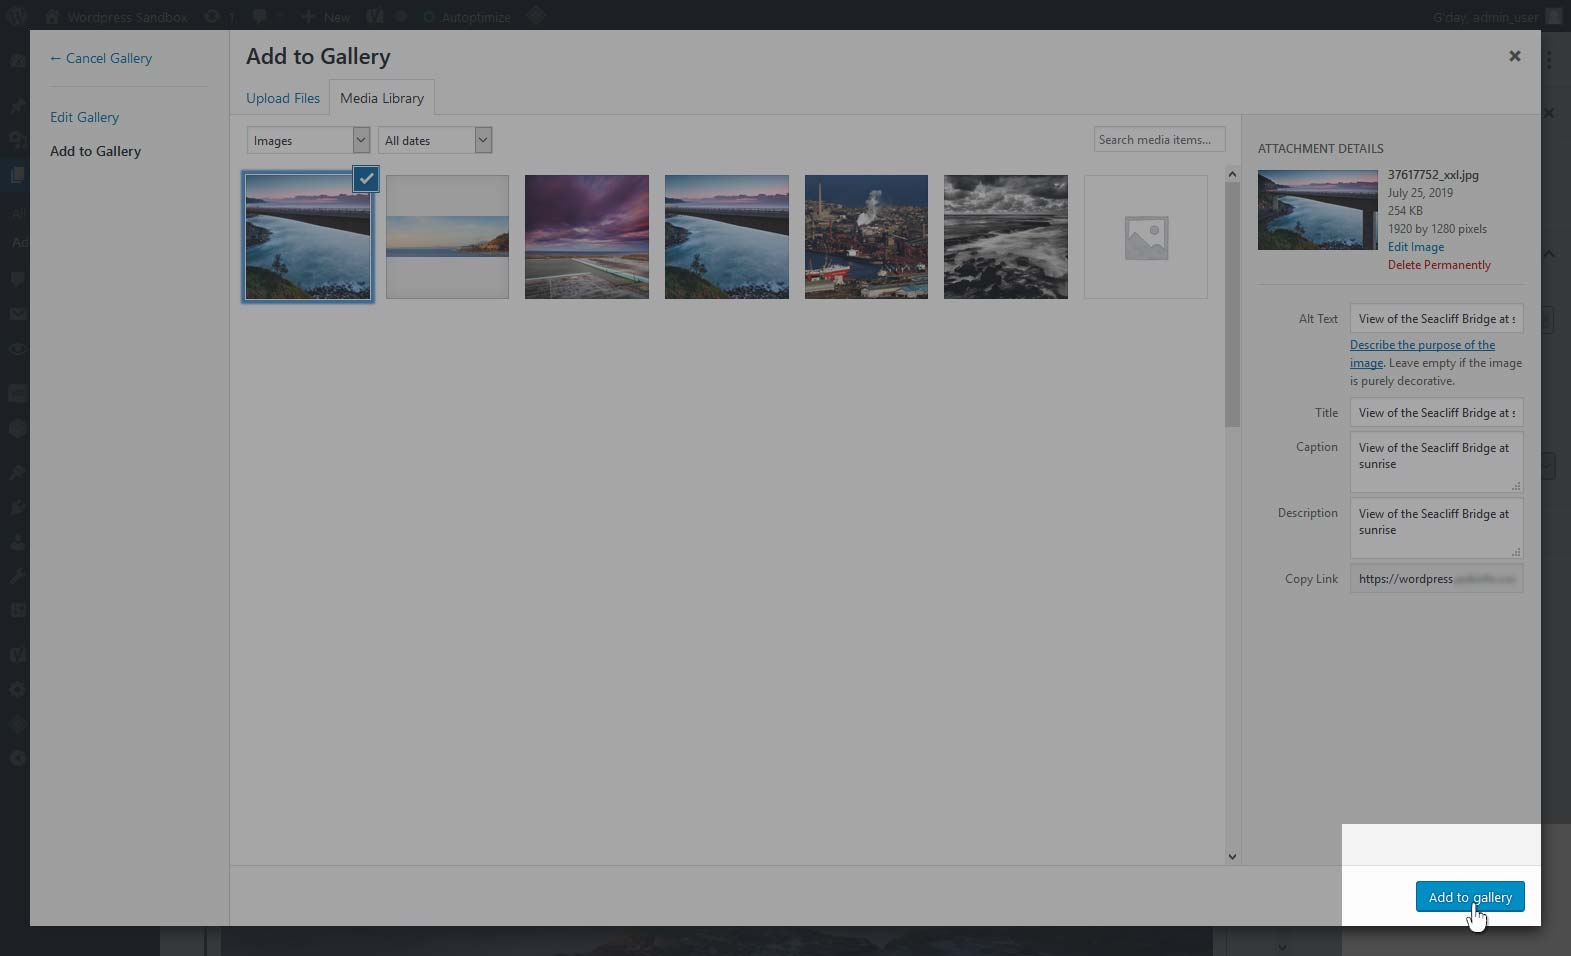
Next, we click on the “Add to Gallery” link in the left-hand panel of the window.
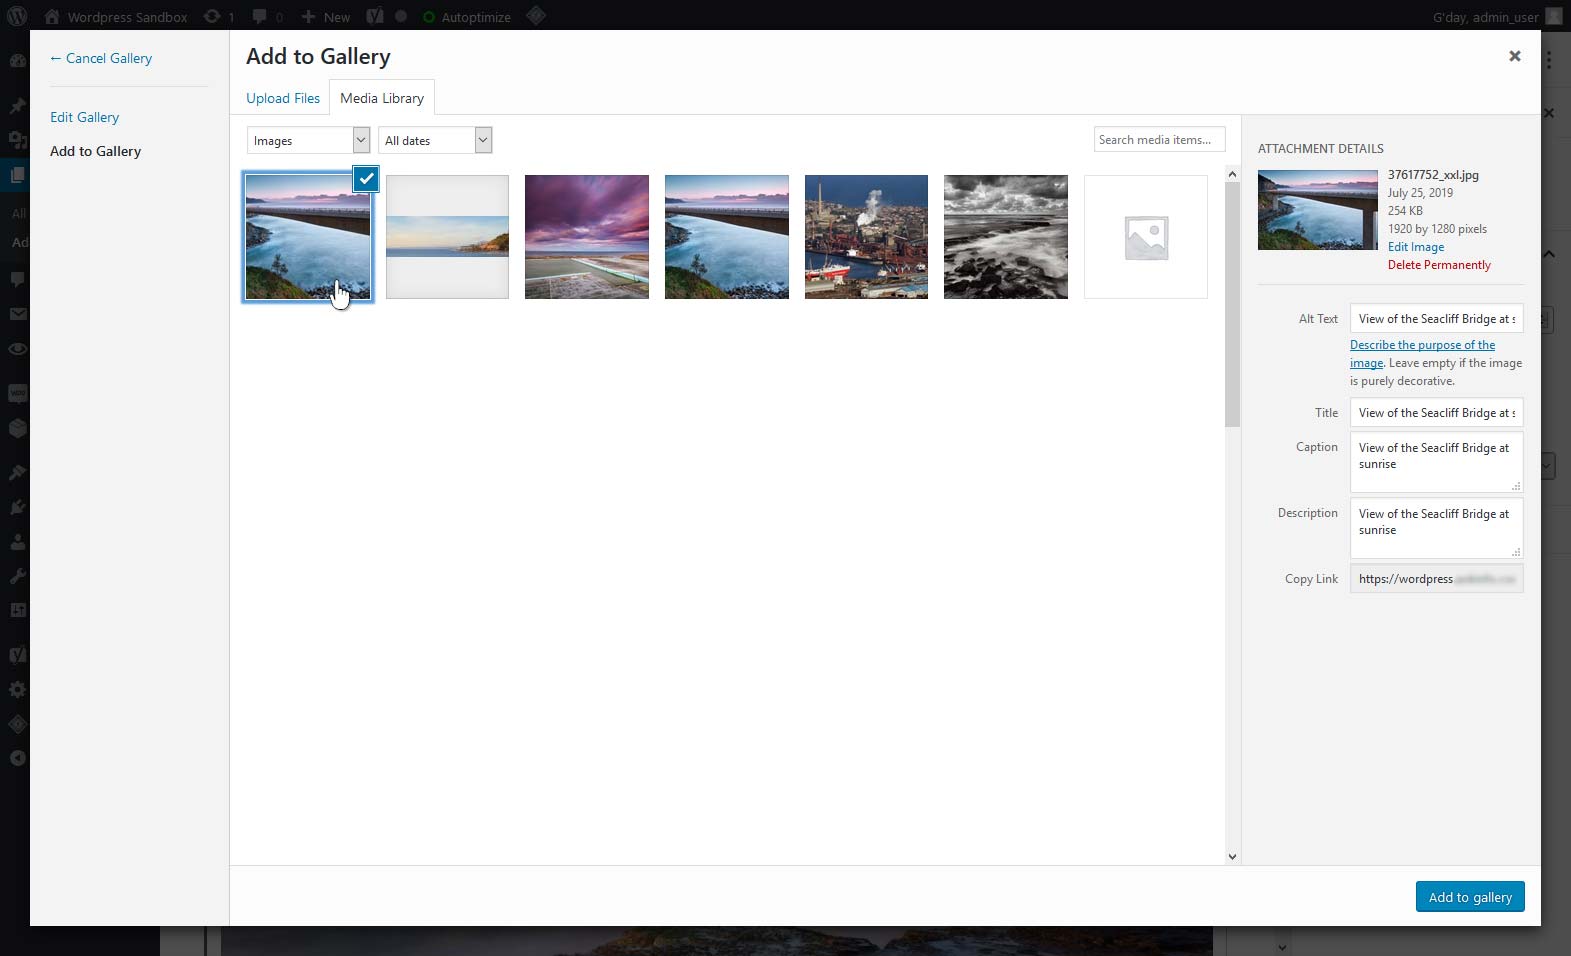
This will bring up the main Media Library window, like when we created our gallery. However, instead of seeing all media items, now we can only see items which are not currently in the gallery.
Like before, we will select the items we want to add to our gallery, and WordPress will mark them with a tick. (Like before, we can also upload new images at this stage if we want.)
Once we have selected all the images we want to add, we click the “Add to gallery” button in the bottom right corner.
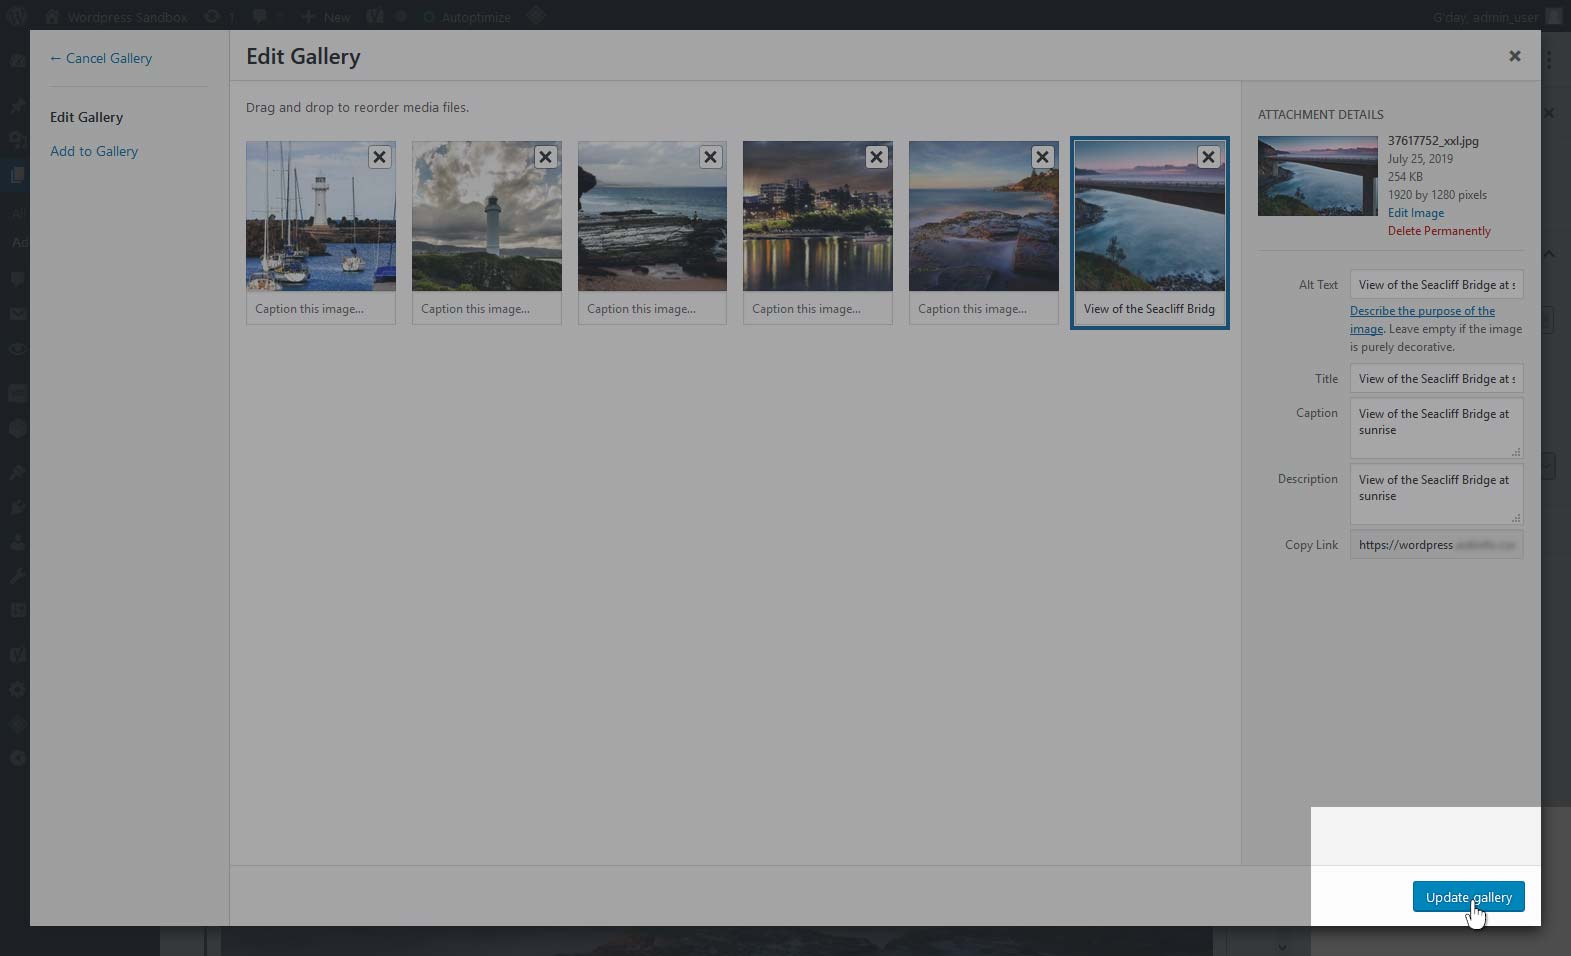
This returns us to the previous view. We can now see the images we just added to the gallery now appear at the end of our list. Like before, we can provide attachment details here, and we can remove an image from the gallery by clicking the ✖ mark on its thumbnail.
Once we are satisfied with our changes, we click the “Update gallery” button in the bottom right corner.
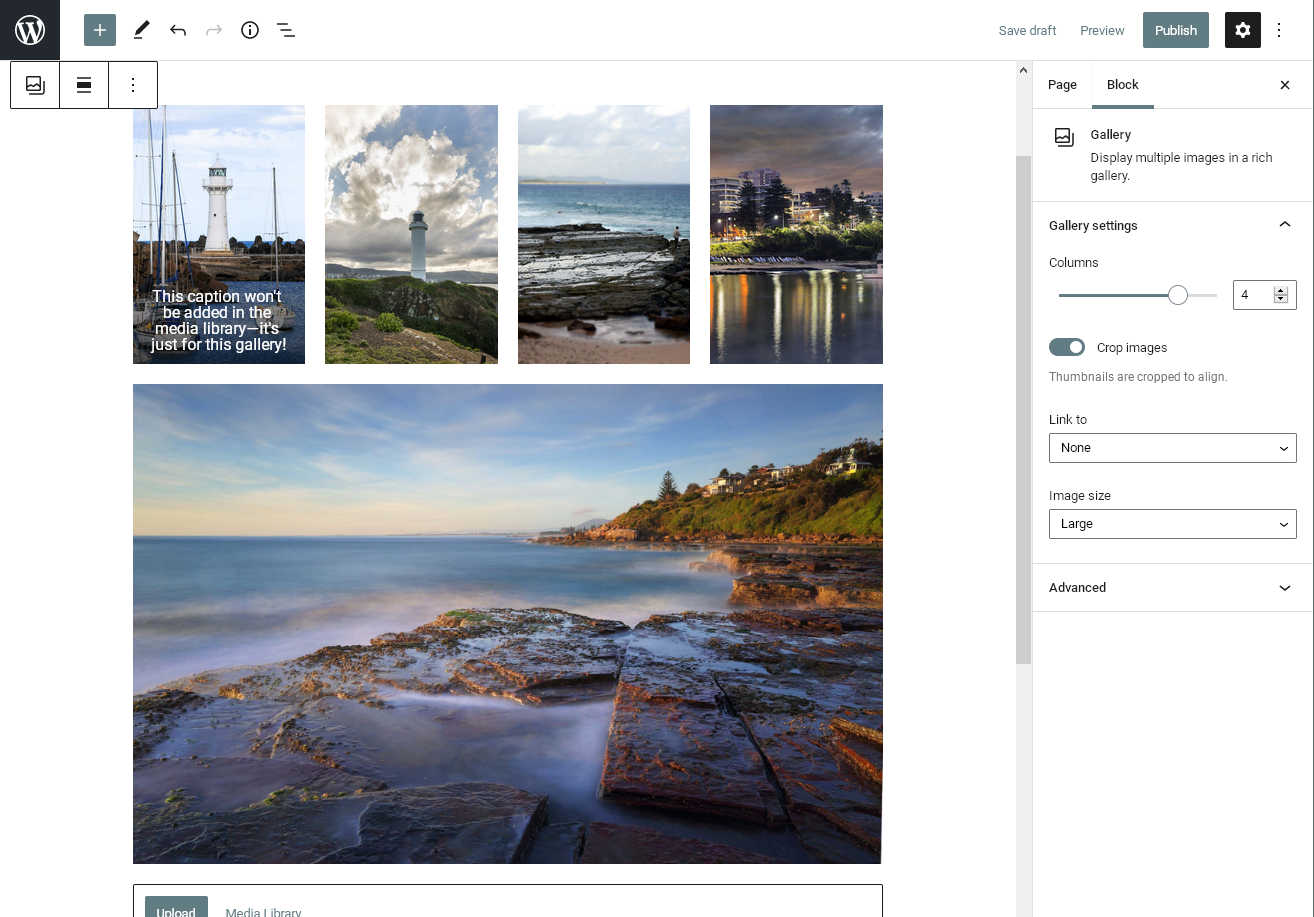
Finally, we return to the Blocks editor and check that our new additions now appear in our Gallery block.
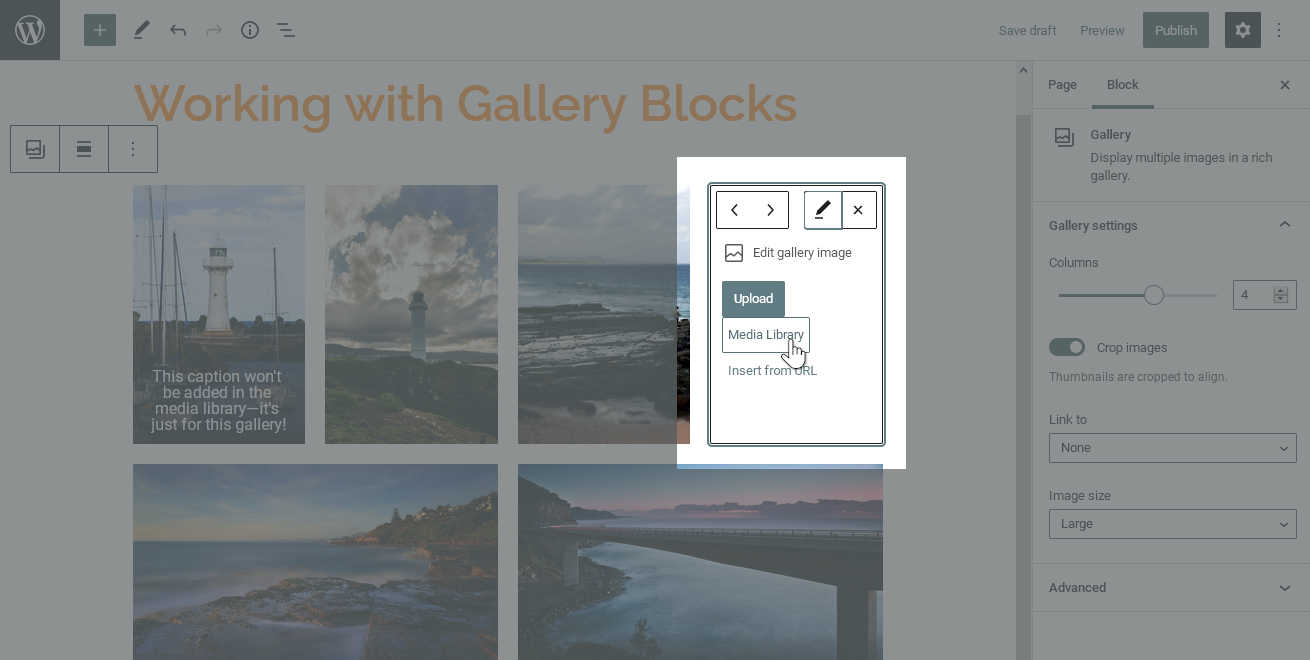
Swapping a Gallery Image
Sometimes we also want to replace an existing gallery image, without removing or changing the rest of the gallery. To do this, we begin by selecting the image we want to replace. Next to the “Remove” button is a “Replace” button, which uses a pencil icon.
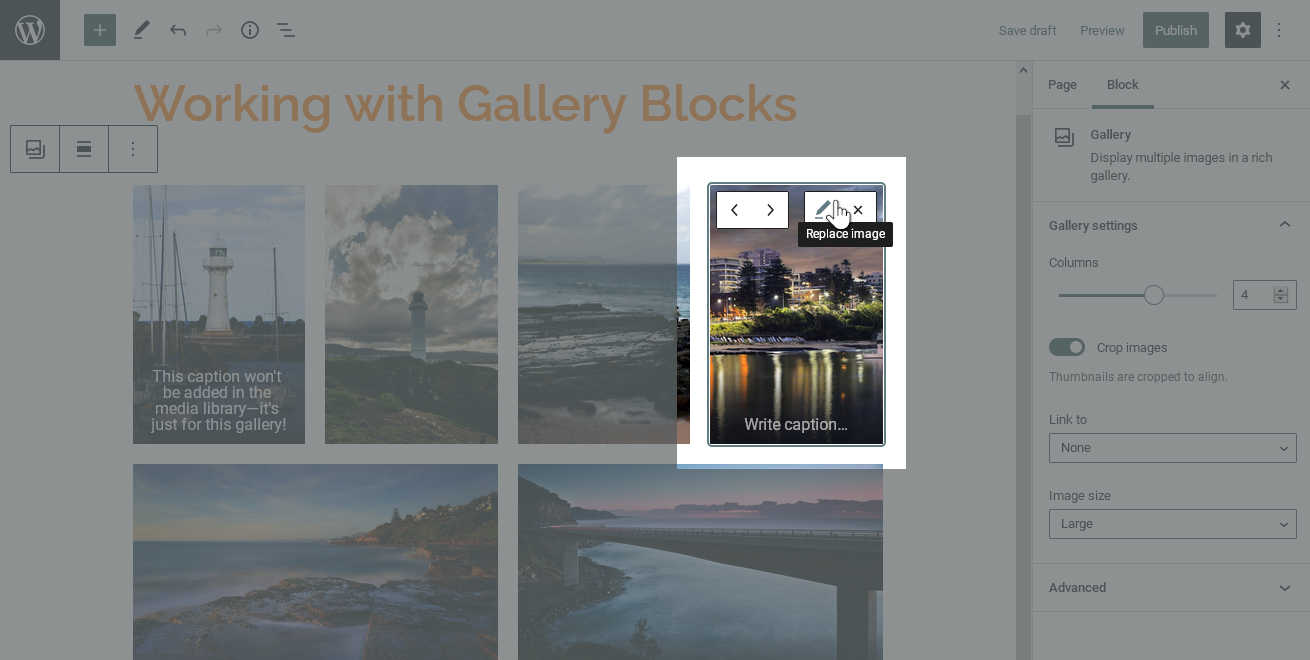
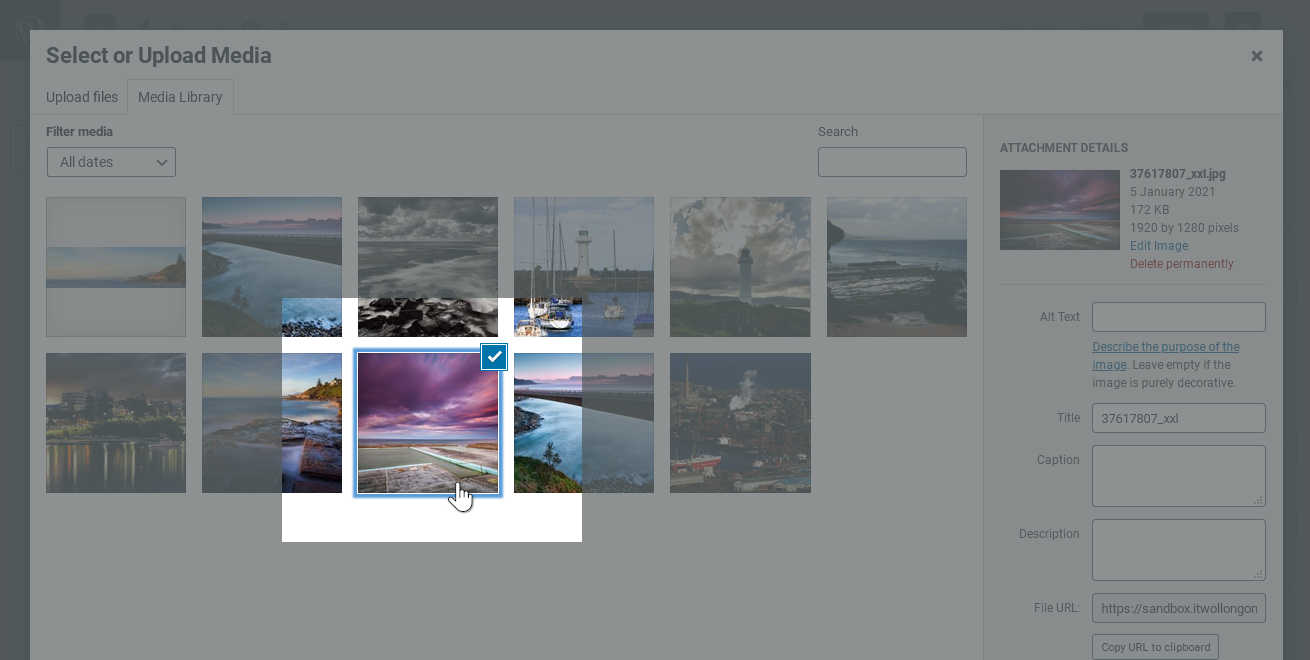
When we click this button, the thumbnail for this image is replaced with a small version of the media selection interface, much like when we first create a gallery or image block. As usual, we select “Media Library“.
From here, we can choose an existing image as a replacement, or upload something new. The controls are just the same as when we add images—just pick the desired image, fill out any details we want add, and confirm.
Returning to the editor, we can see that our old image has been swapped with the new image we chose. If we have cropping turned on, the layout should stay the same, because the number of images is the same overall.

Enjoy working with galleries!
We have now learned the required skills to work with WordPress Gallery Blocks. As you can see, creating beautiful WordPress galleries is relatively simple, even with only the core editing tools.
We hope you’ll enjoy going on to create heaps of your own WordPress content! And don’t forget, if you need help from the professionals, we are only a phone call away.