
This tutorial is the first in our series about creating & editing pages using the WordPress Blocks editor.
Part one aims to introduce you to the basic concepts of page content and the Blocks editor. We will create a new page with a title and paragraph text, then learn to add new blocks and order them as we wish.
Adding a New Page
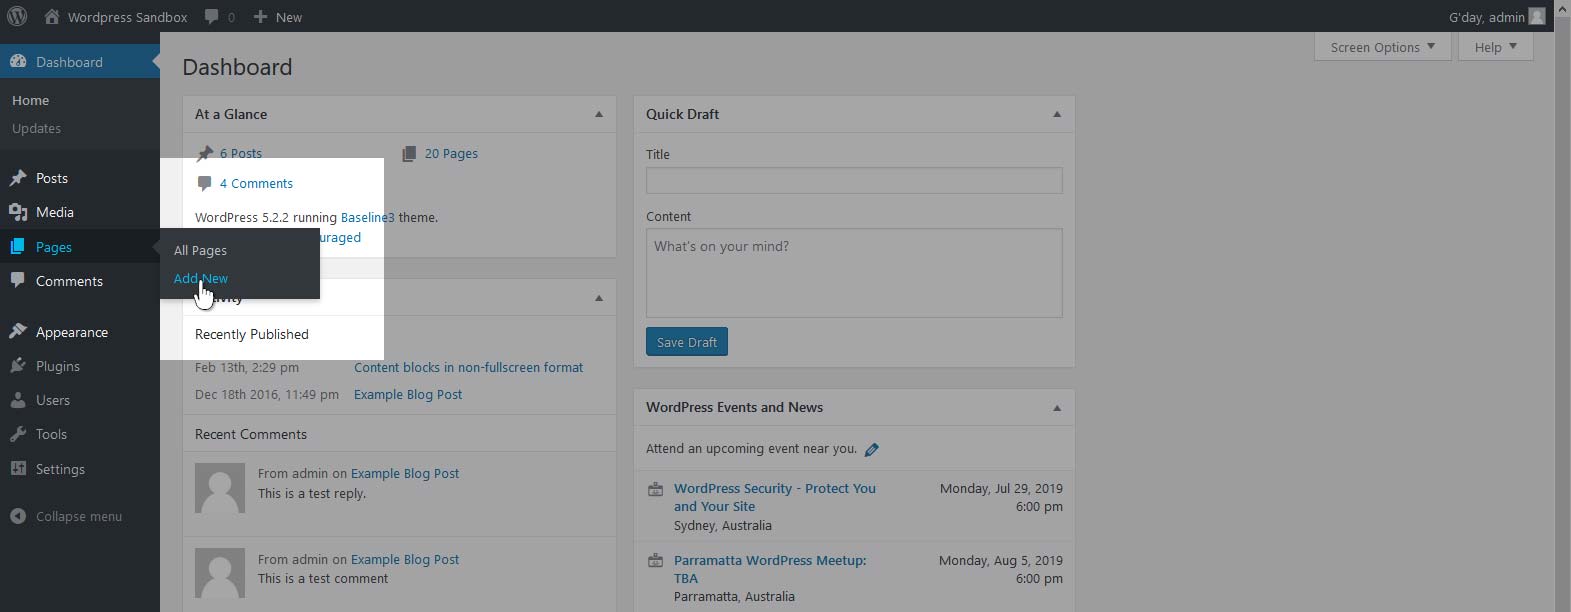
To begin our work, we must first create our new page. After logging in to your WordPress site and landing on your dashboard, hover your cursor over the “Pages” item in the left-hand sidebar menu. This will bring up a small sub-menu, where we want to click “Add New”.
When we first create a new page, WordPress takes us to the editing interface. The basic skeleton of a new Page is loaded for us, ready for us to add a Title and some content Blocks.
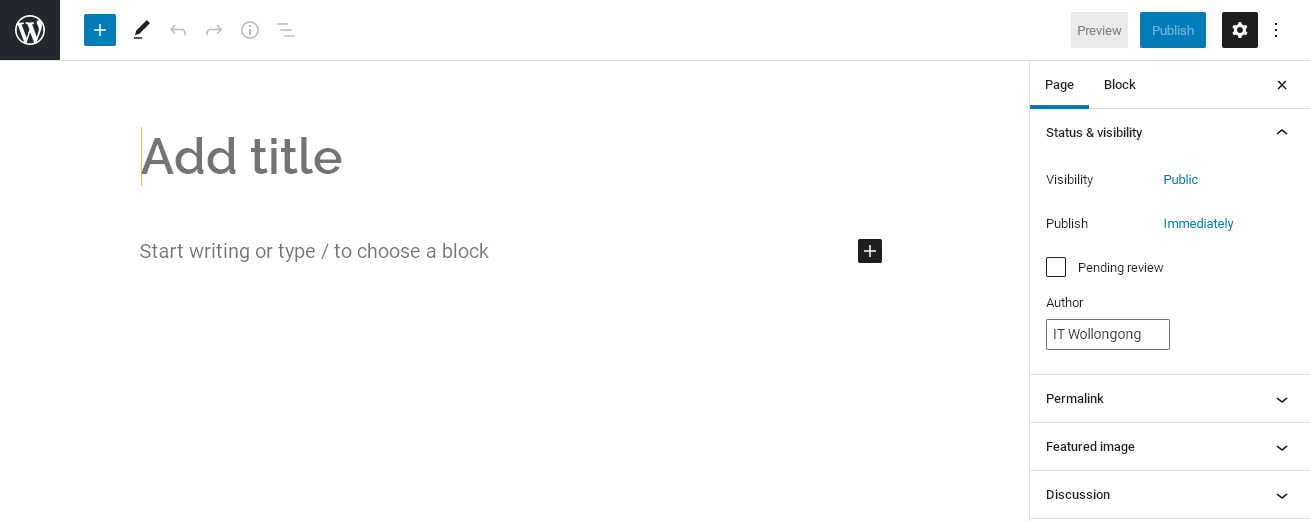
First, click in the field displaying “Add Title“, and type whatever you want your page title to be.
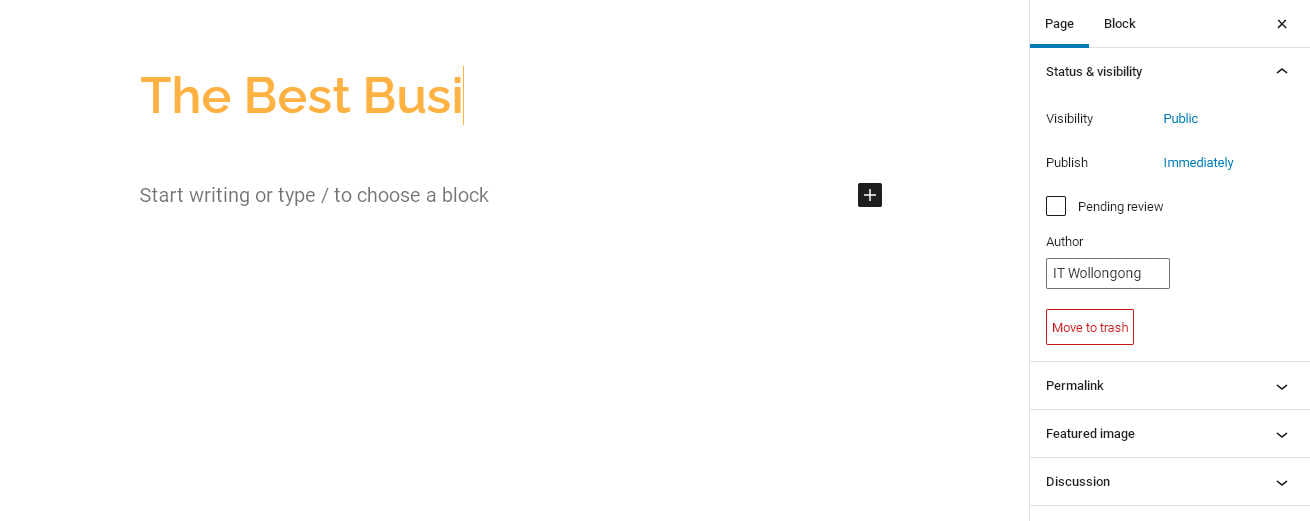
This will be the main heading on the page, and the first thing a visitor will see—so choose something strong, that immediately communicates the purpose of the page. For example, there’s no value in giving your homepage the title “Home”. Instead, try something that includes the main focus of your business, the area you’re based in, and so forth.
Our First Paragraph Block
Once we have a title, we want to add some text content to our page. Below the Title field is an empty block, which currently displays “Start writing or type / to choose a block“. Place the the cursor in this empty block (the placeholder text will disappear).

Now, simply start typing. When you add text, the empty block will automatically become a paragraph block. This simple text content is the the most basic type of WordPress block, and is the bread-and-butter of any page or post content.
When you’re typing in paragraph blocks, editing in WordPress is a lot like any word processor you might use on your computer. Just type the text you want, and press the ‘Enter’ key to complete each paragraph. Just keep typing to add as many paragraphs as you like!
Adding Other Blocks
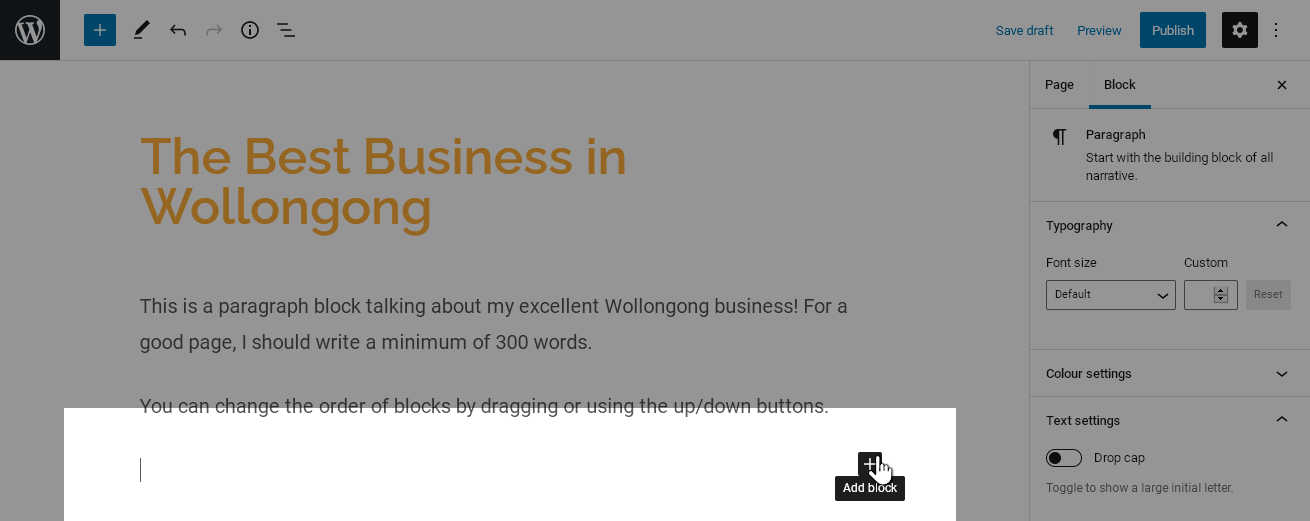
You can add paragraph blocks just by typing. However, other blocks types can also be added, and for this we use the “Add Block” button. This button looks like a plus sign (+), and you’ll see it in few different places within the editor.
- In the top toolbar, just below the quickbar. Clicking the button here will add a new block to the bottom of your current content.

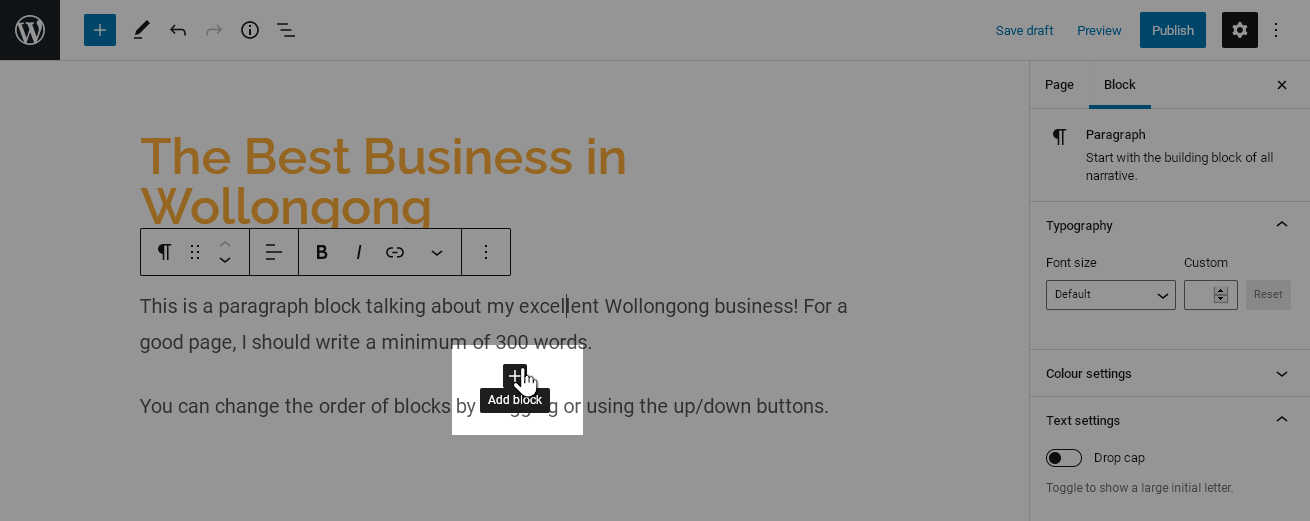
- When you select (click on or move the cursor into) an empty content block, the “Add Block” button appears to the right side of the empty section. Clicking the button here will fill the selected empty block.
- Hovering the cursor between content blocks which are not currently selected will also display the button. Clicking the button here will insert a new block between the blocks above and below it.
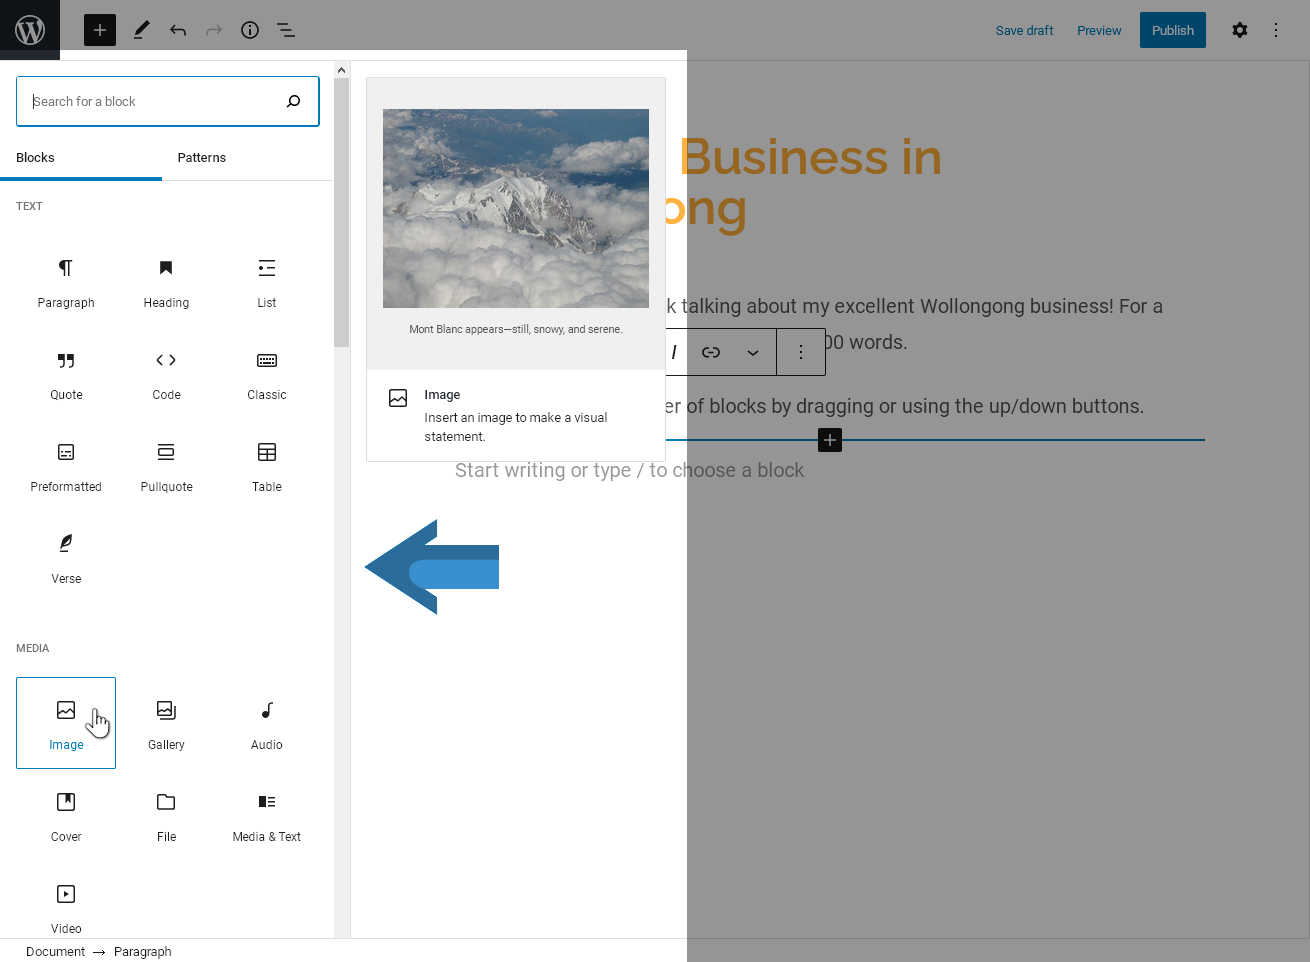
Clicking on the “Add Block” brings up a menu of available block types. There are quite a lot, and many plugins expand the blocks you can choose! However, by default WordPress only shows the blocks you use most often. (On a brand new site, this will default to the most common overall.)

You can also see a large “Browse all” button below the listed blocks. If you want to see all the available blocks for your WordPress installation, click this button to reveal the Blocks pane. The available blocks are divided into groups to help you find what you’re looking for.
We won’t add any other block types right now, but we will definitely do so in future tutorials. Realistically, most page content will only require the most common blocks; however, you can certainly experiment with different block types to create the content you want! The Blocks editor gives you plenty of control over content layout and appearance.
Tip: You can also bring up a small menu of recent block types by typing “/” into an empty block.
Reordering Blocks
Finally, we can also change the order of existing blocks, without needing to cut-and-paste content. When you click on a block to select it, you should see a bar appear above the block with various control buttons.
The exact buttons displayed here will change depending on what type of block you’re working with, which is indicated by the first icon in the bar (in our example, the paragraph symbol ¶). However, every block has a handle indicated by a grid of dots, and a pair of up and down arrows. These controls let you change the order of blocks you’ve created.

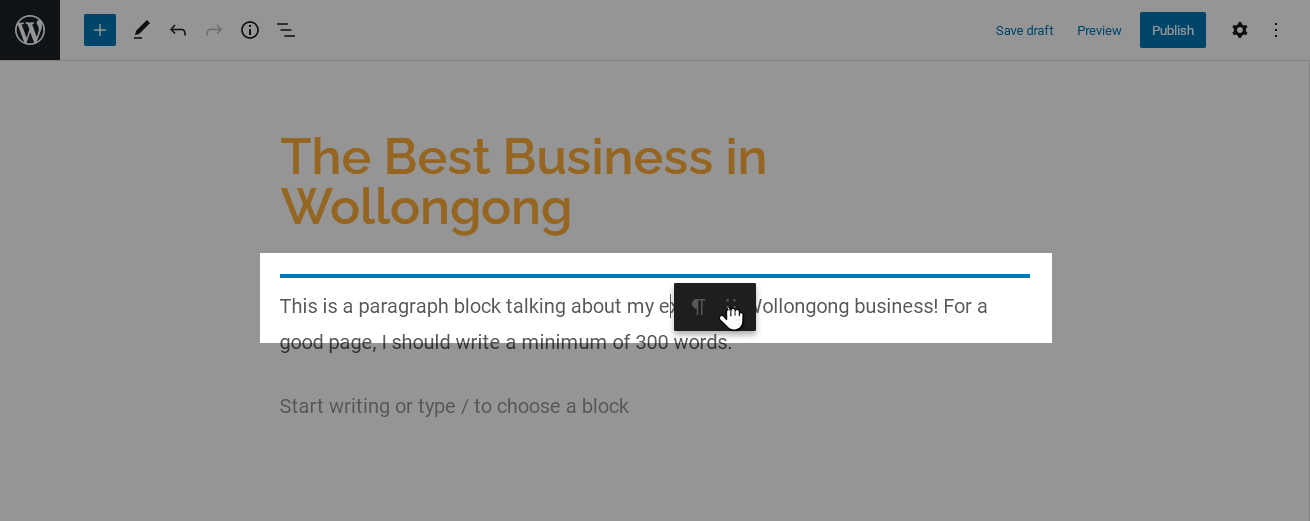
Handle: By clicking and holding the “handle” control, you can drag the block to a new position anywhere in your content. While you hold the block over a valid position, a highlighted horizontal line will appear to indicate where the block will be placed. (In our example it’s highlighted in blue.) Release the button to drop the block into the previewed position.
Arrow buttons: The up and down arrow buttons move the block only one position at a time. As you might expect, you can click again to continue moving one step at a time. This is slower if you need to drastically change the position of a block, but useful if you find the drag-and-drop method a bit fiddly.

What’s Next?
This concludes our tutorial on basic editing concepts with the WordPress Blocks editor. If you’re ready to learn more about creating and editing text content, the tutorial continues in Part 2: Working with Text Blocks.